
SMB Access Setup
This section covers configuring SMB to present file-based storage to clients over the network. This includes creating and managing shares, allowing storage to be accessed by users and applications.
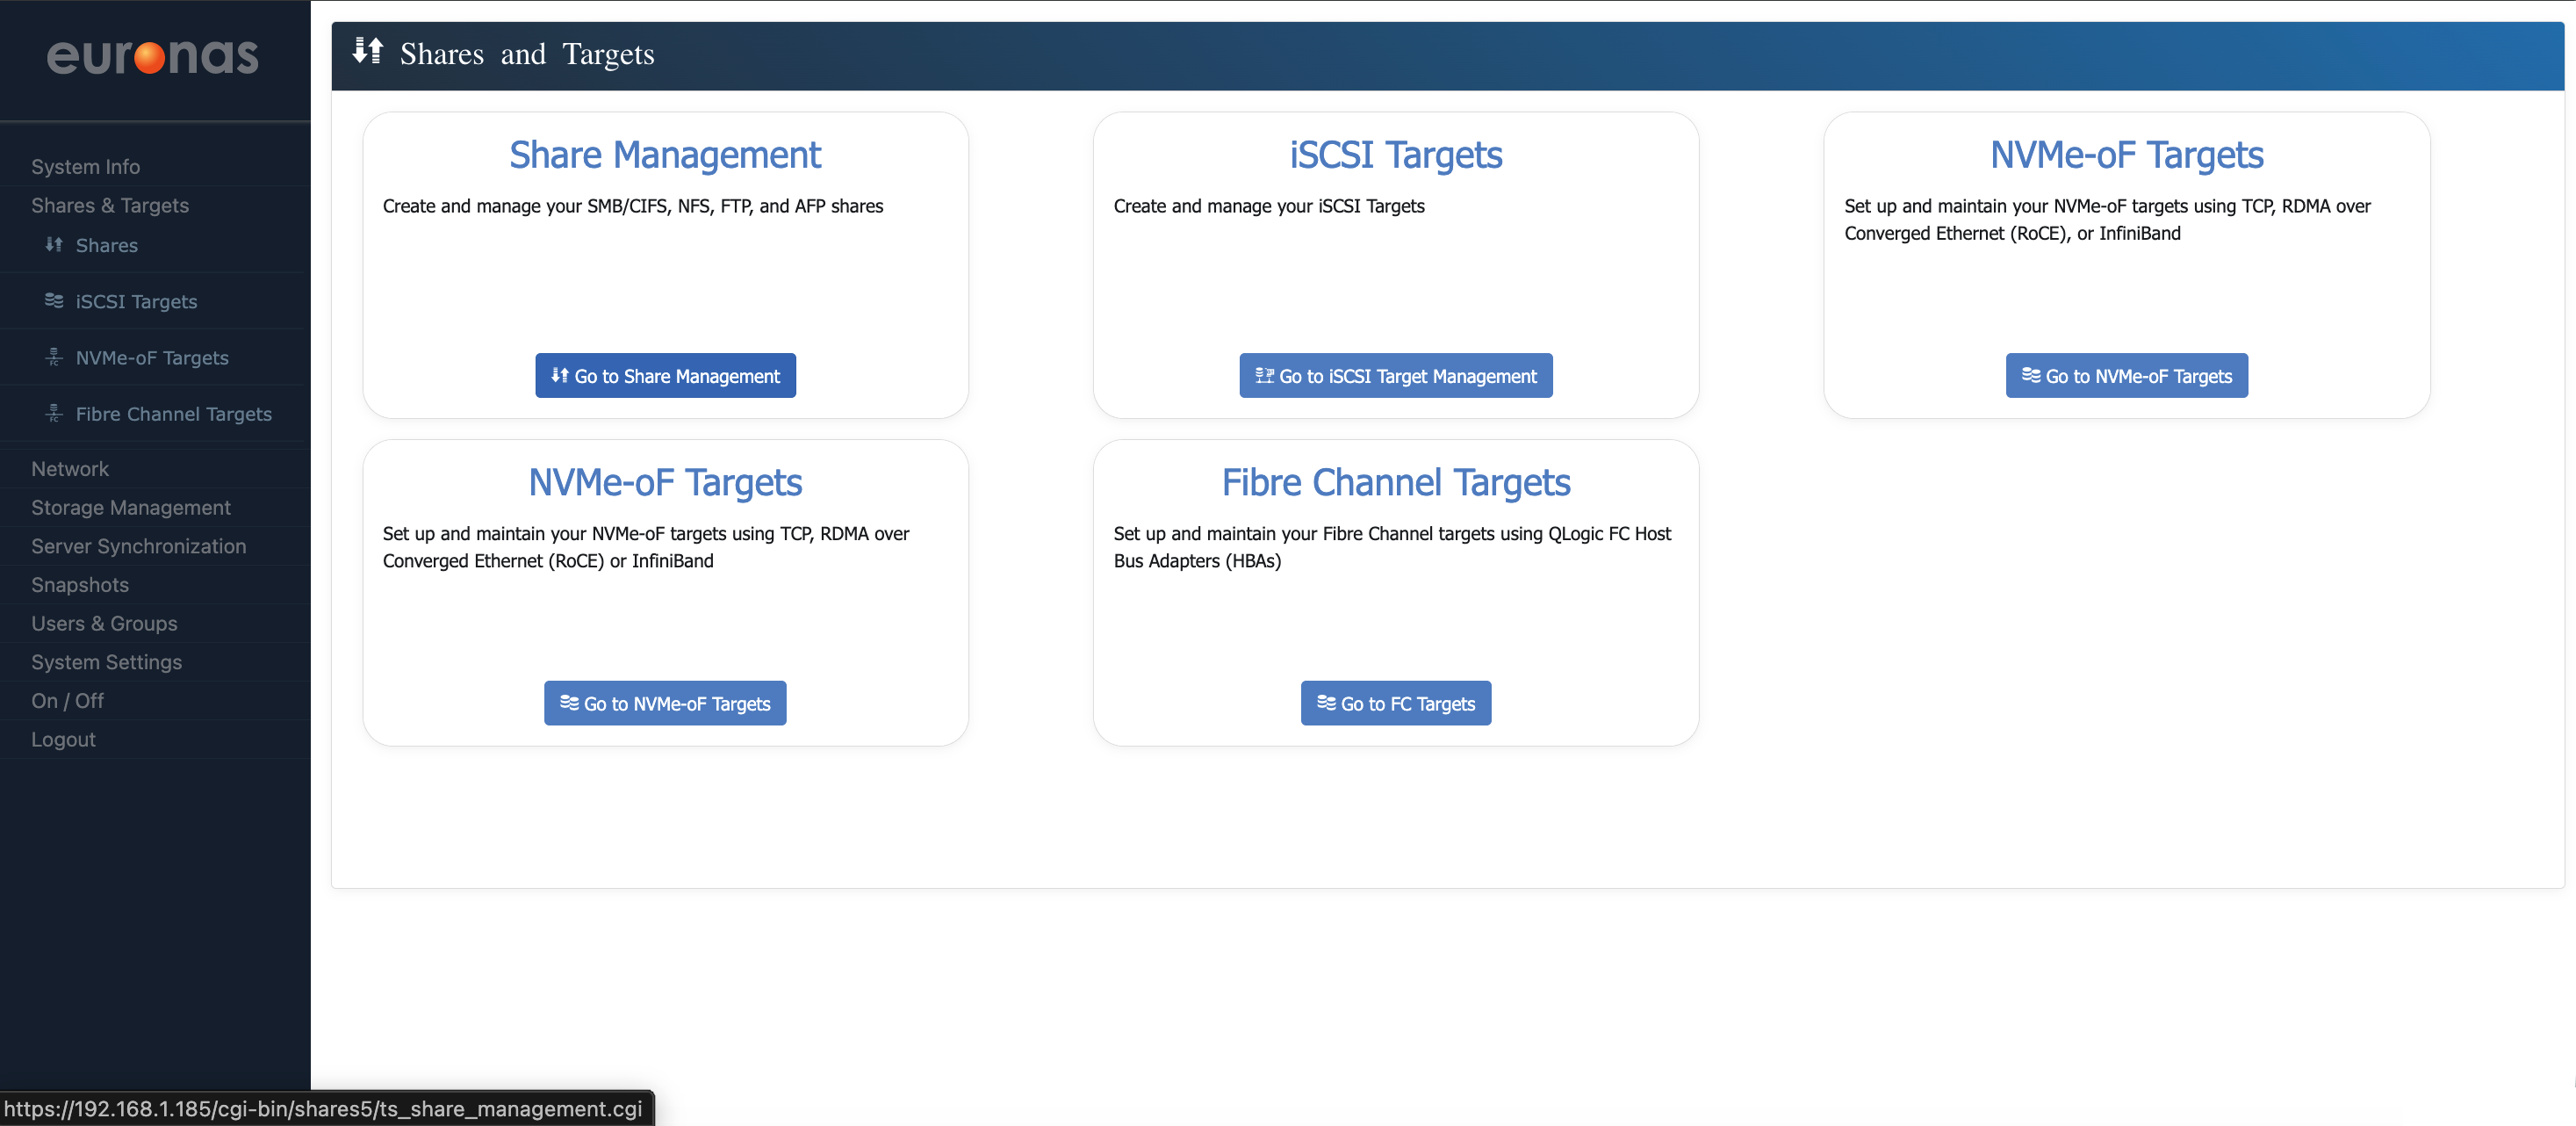
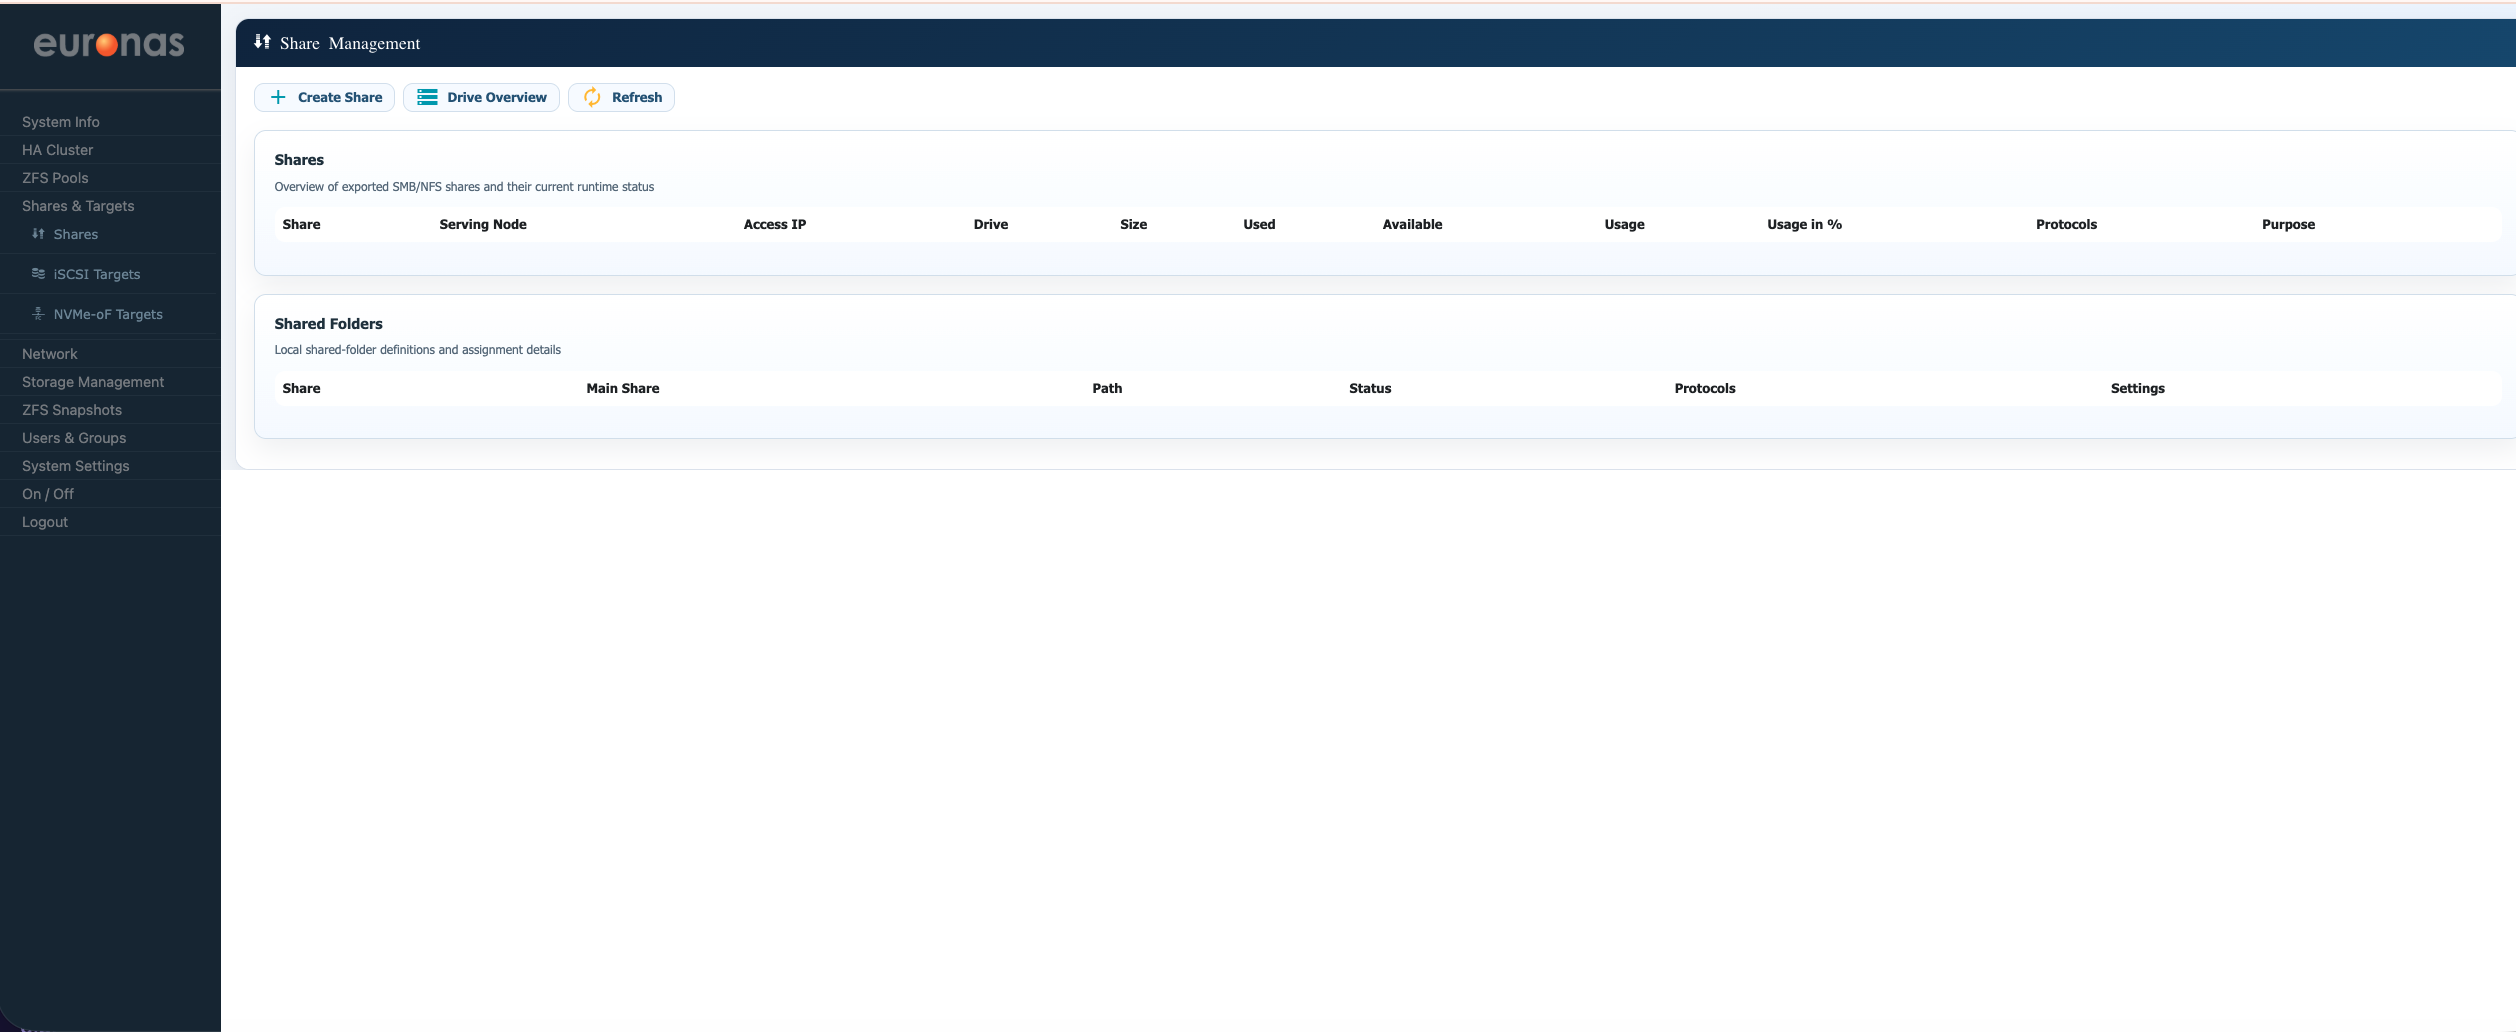
This will open the Share Management screen, where file-based access is configured. From here, SMB and NFS shares can be created and managed, providing access to storage for client systems. Now go ahead and click the + Create Share option
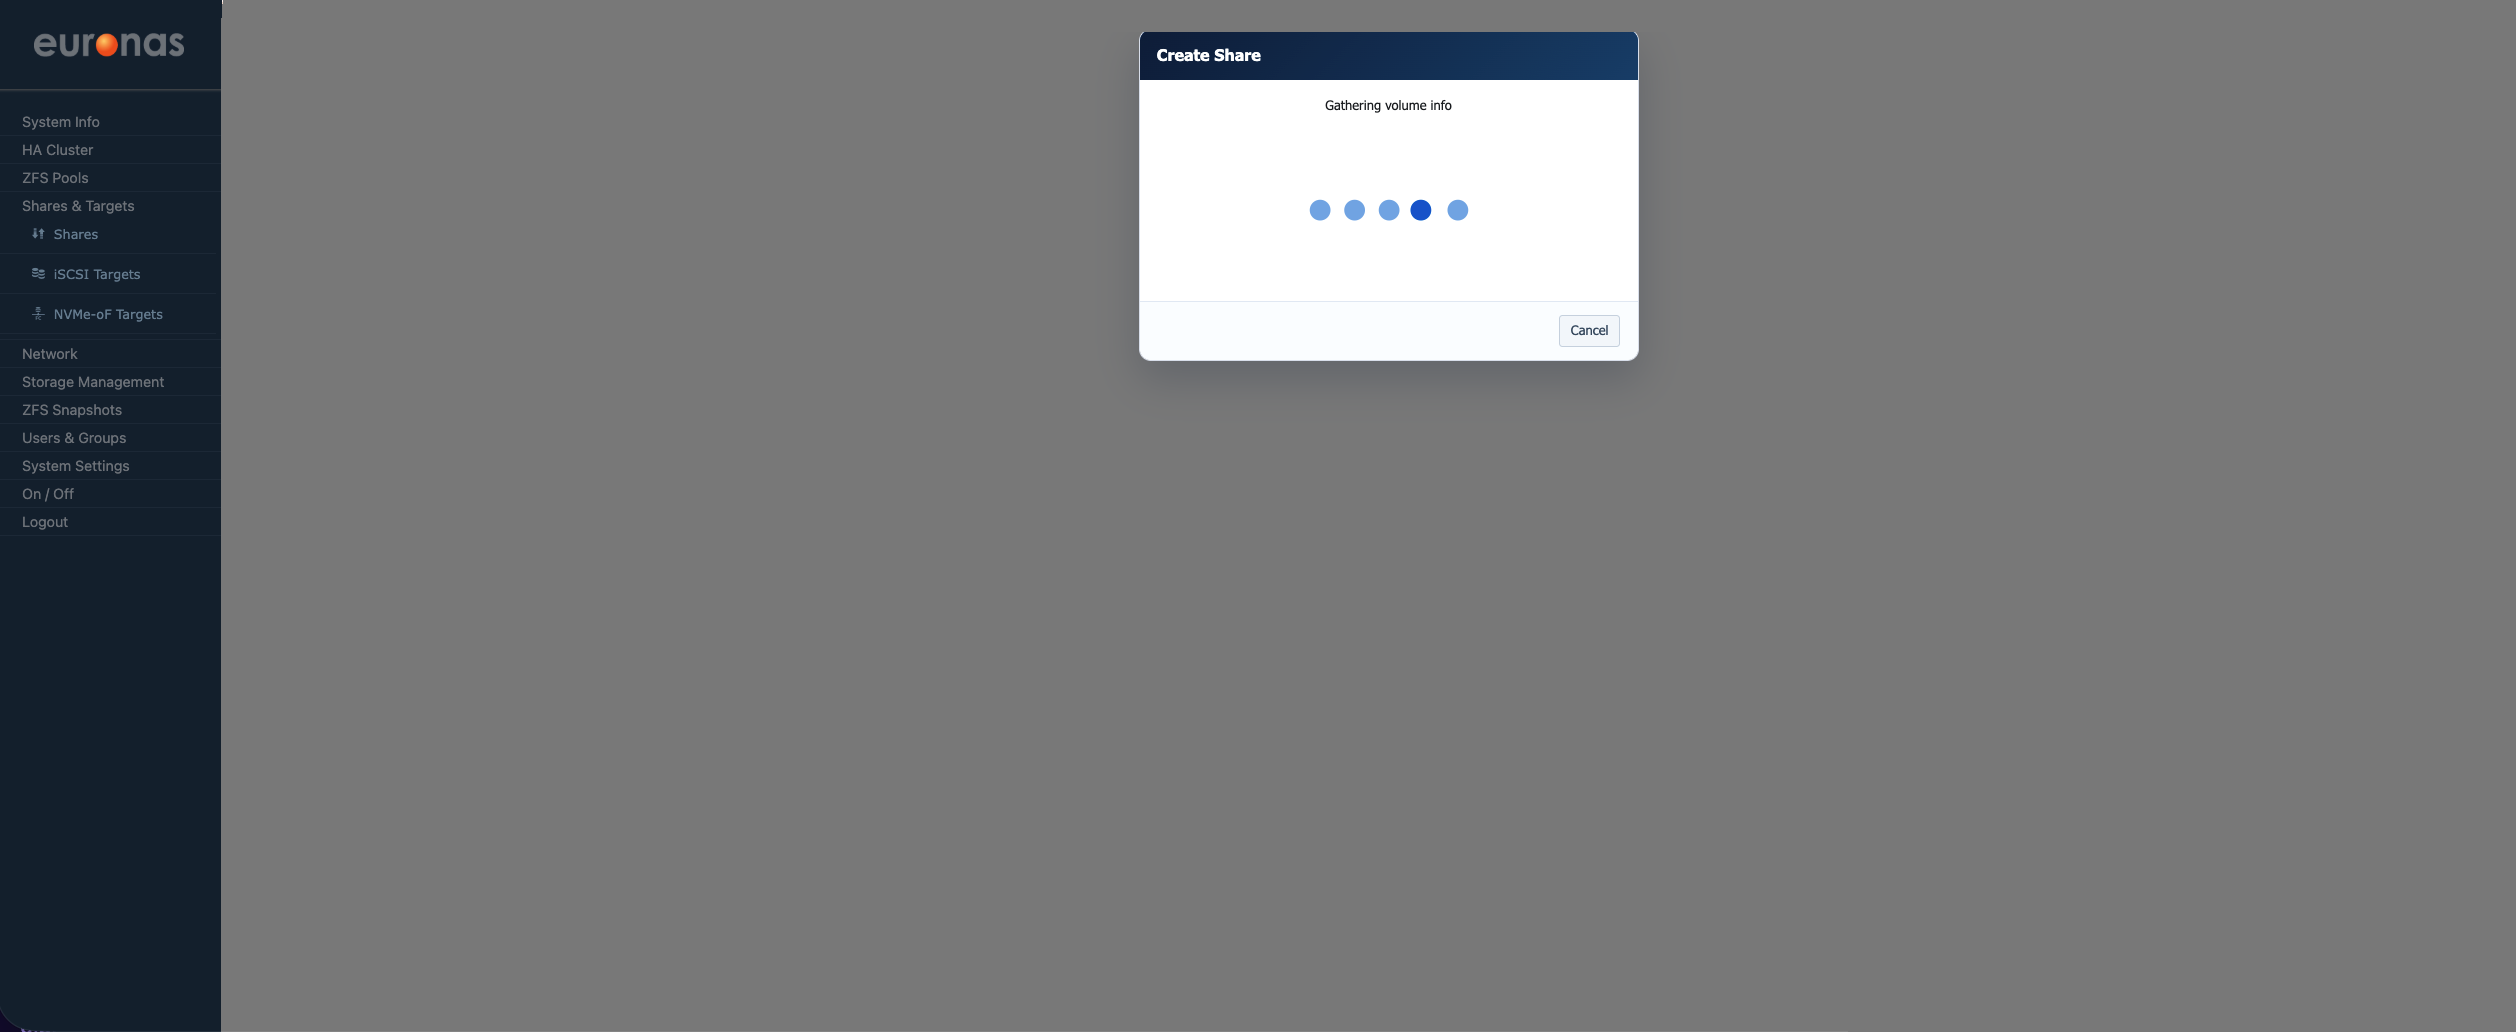
The system will scan the pool for Volume Information
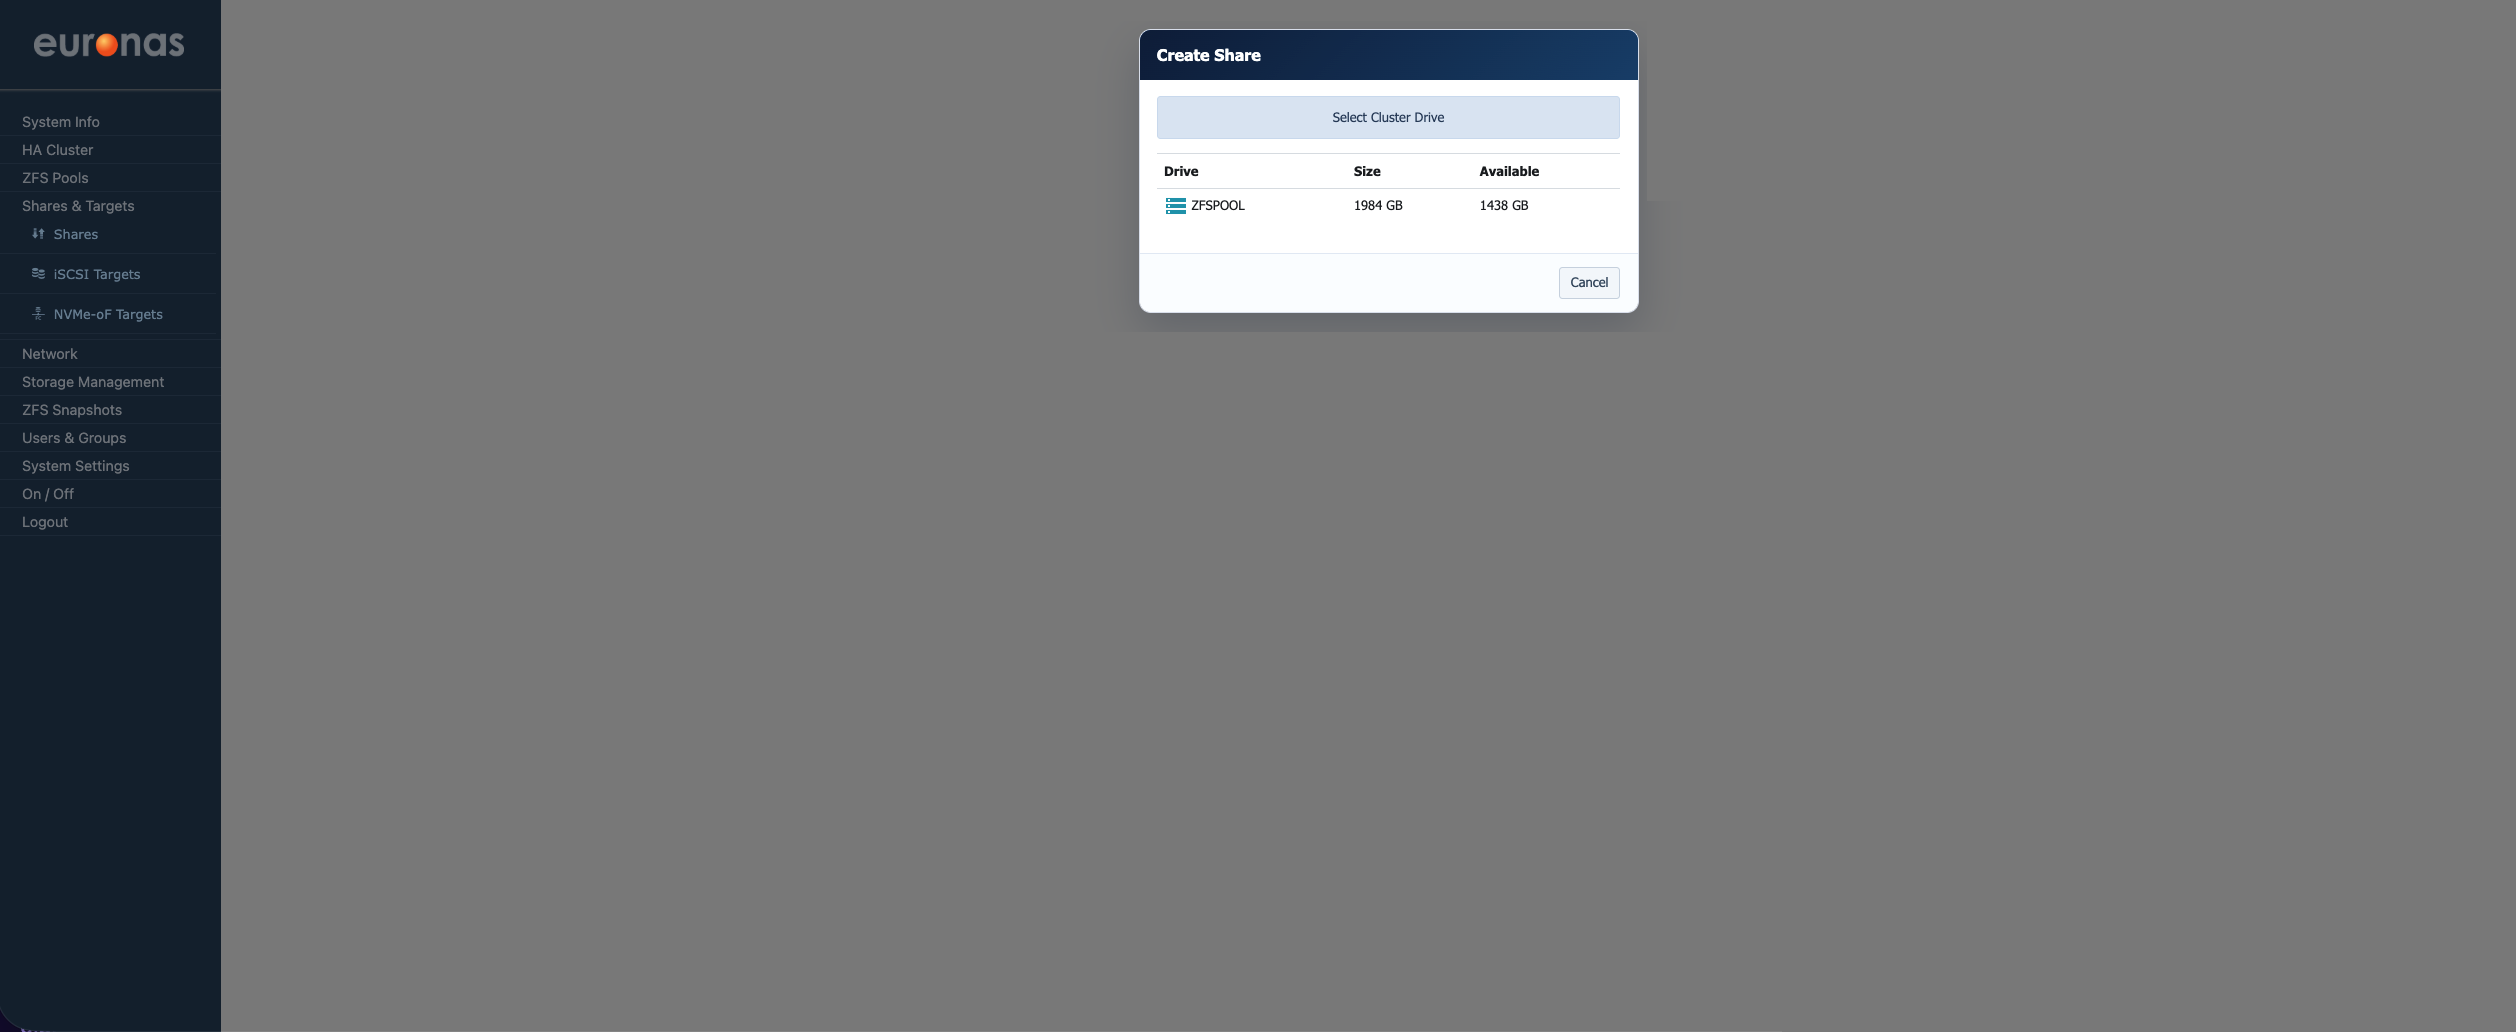
Depending on the number of storage pools configured on the system, one or more pools will be displayed in the Create Share window. In this example, the system shows a single pool named ZFSPOOL, along with its total size and currently available free capacity. To continue creating the share, select ZFSPOOL from the list.
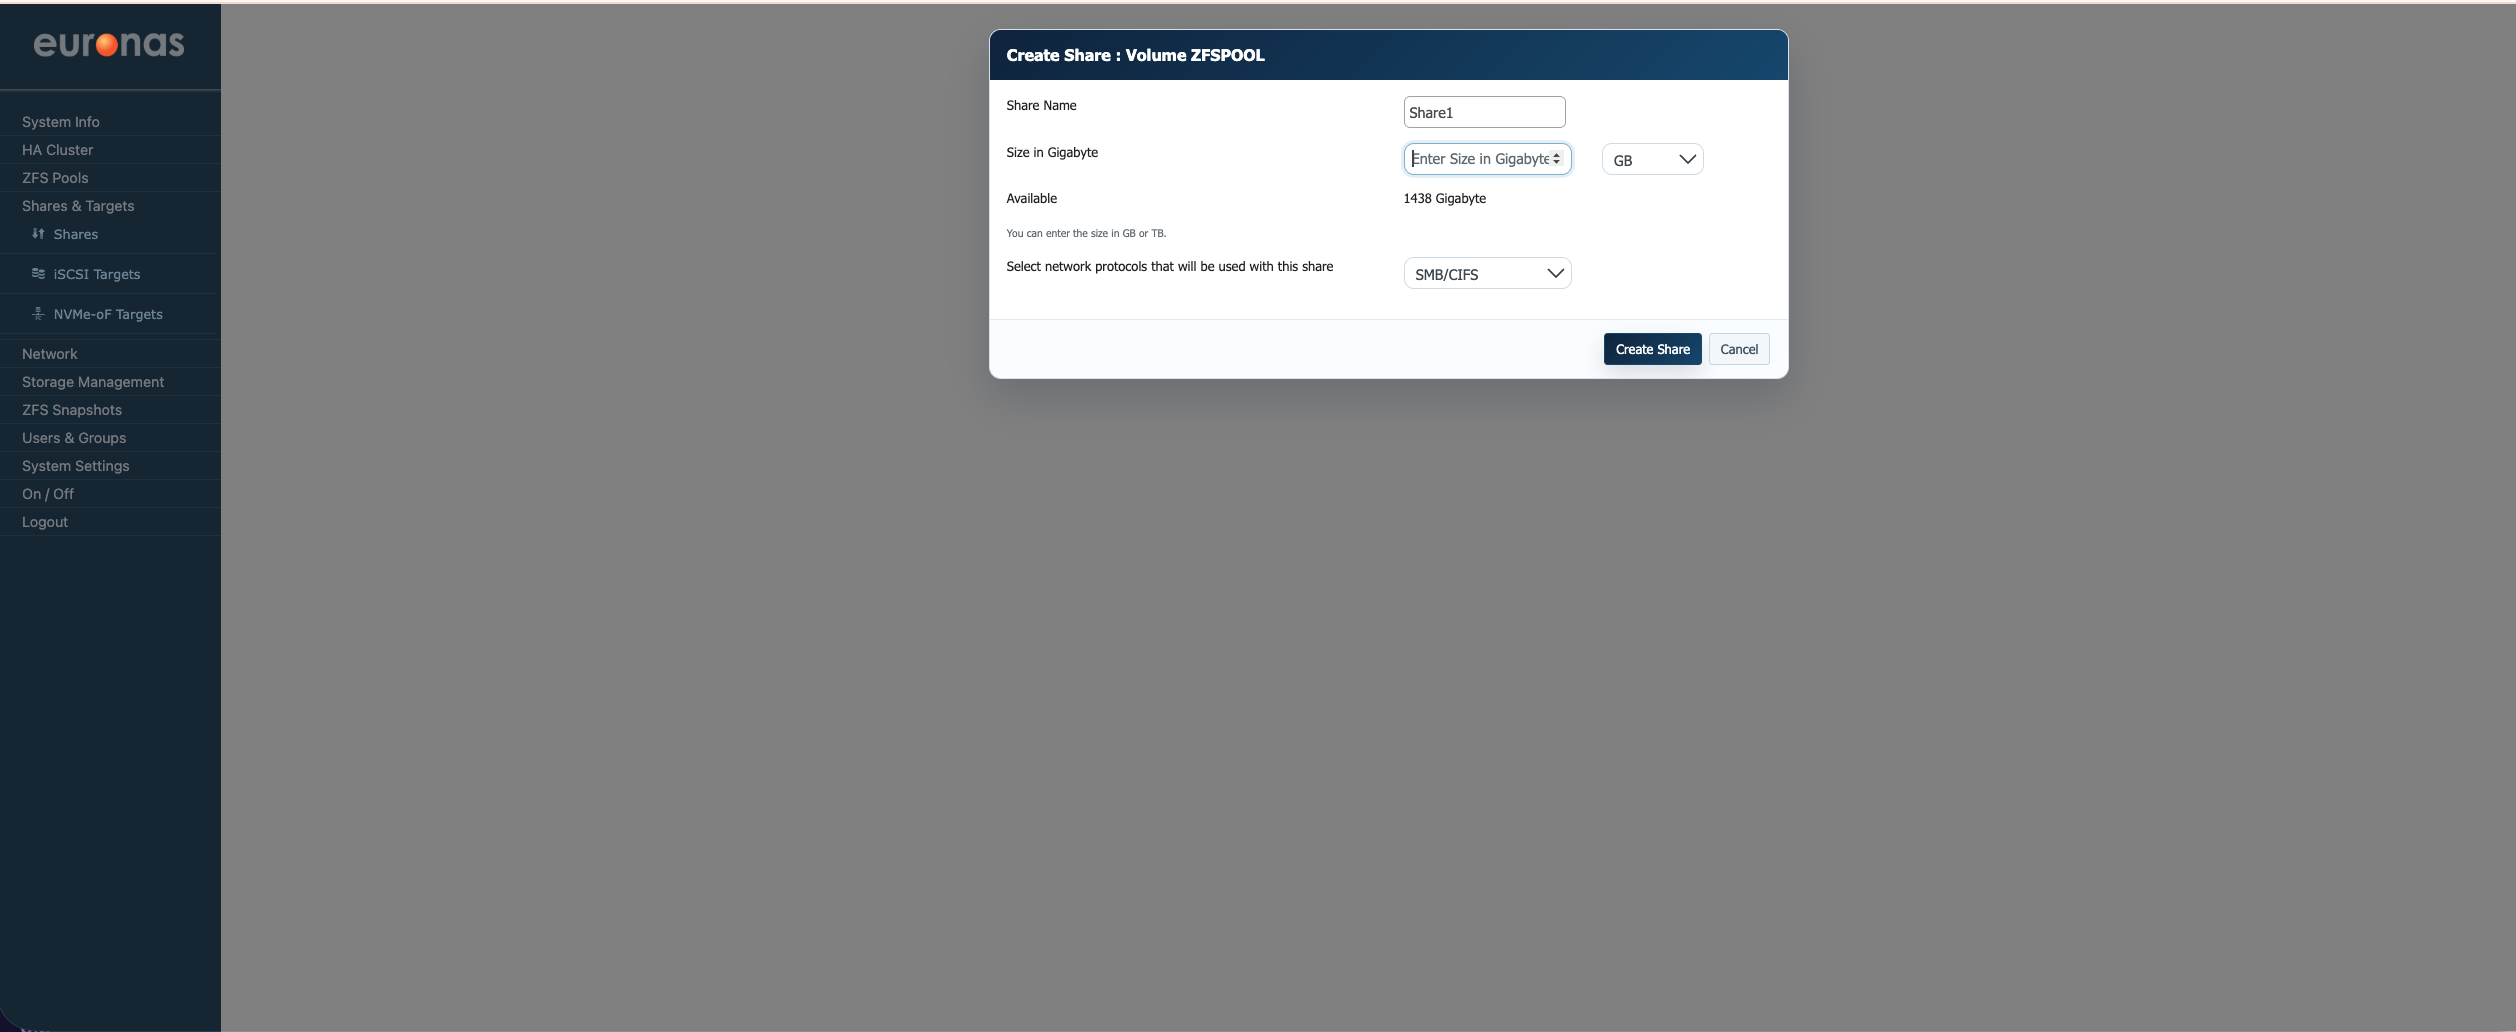
In this example the share has been manually named Share1. The share name can be customised to reflect the intended use case or naming standard used within the environment.
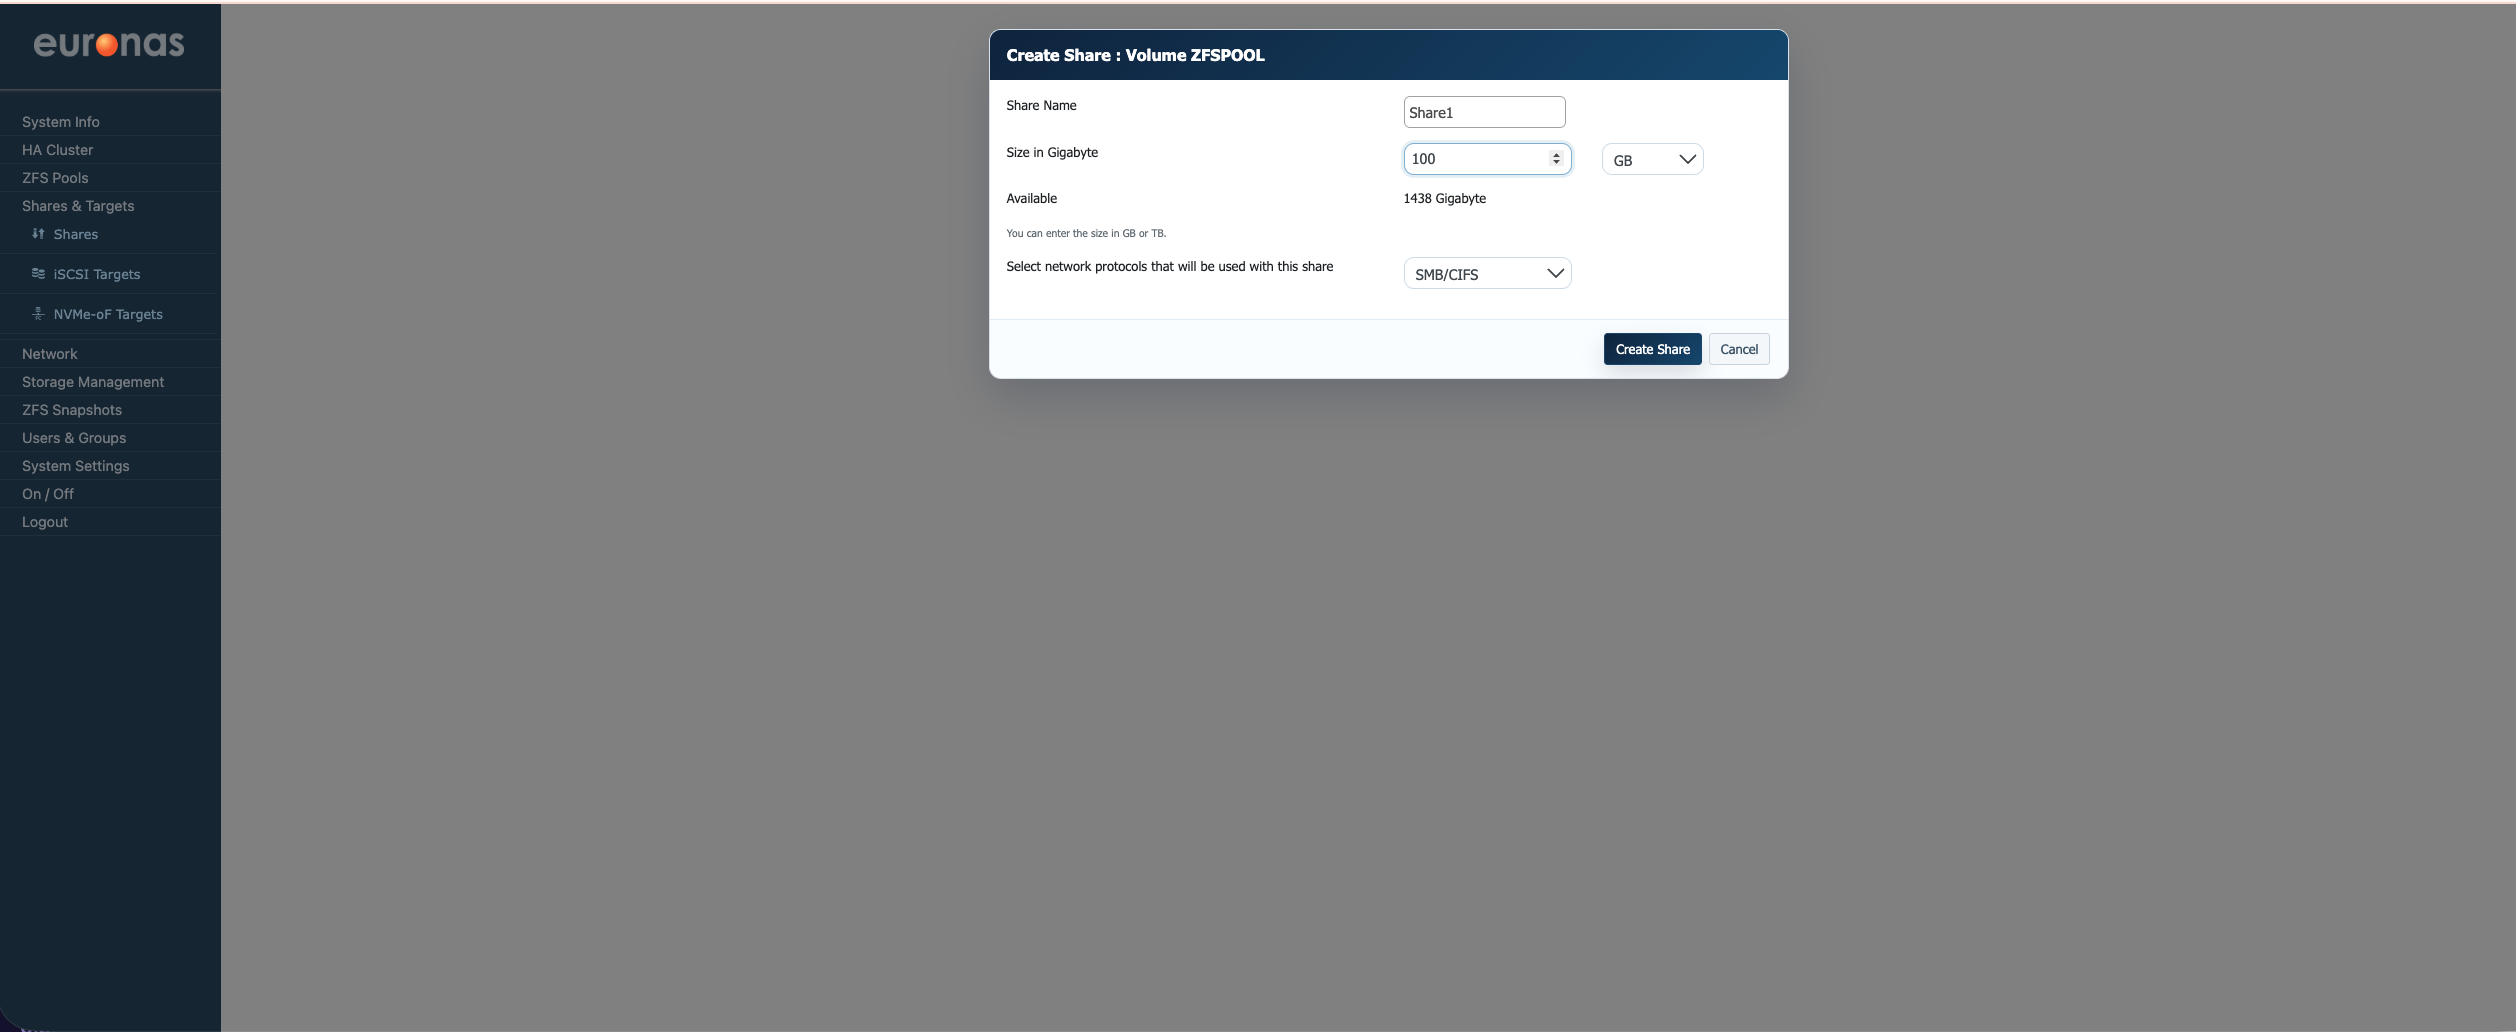
A size of 100 GB has been selected for this share from the available Pool.
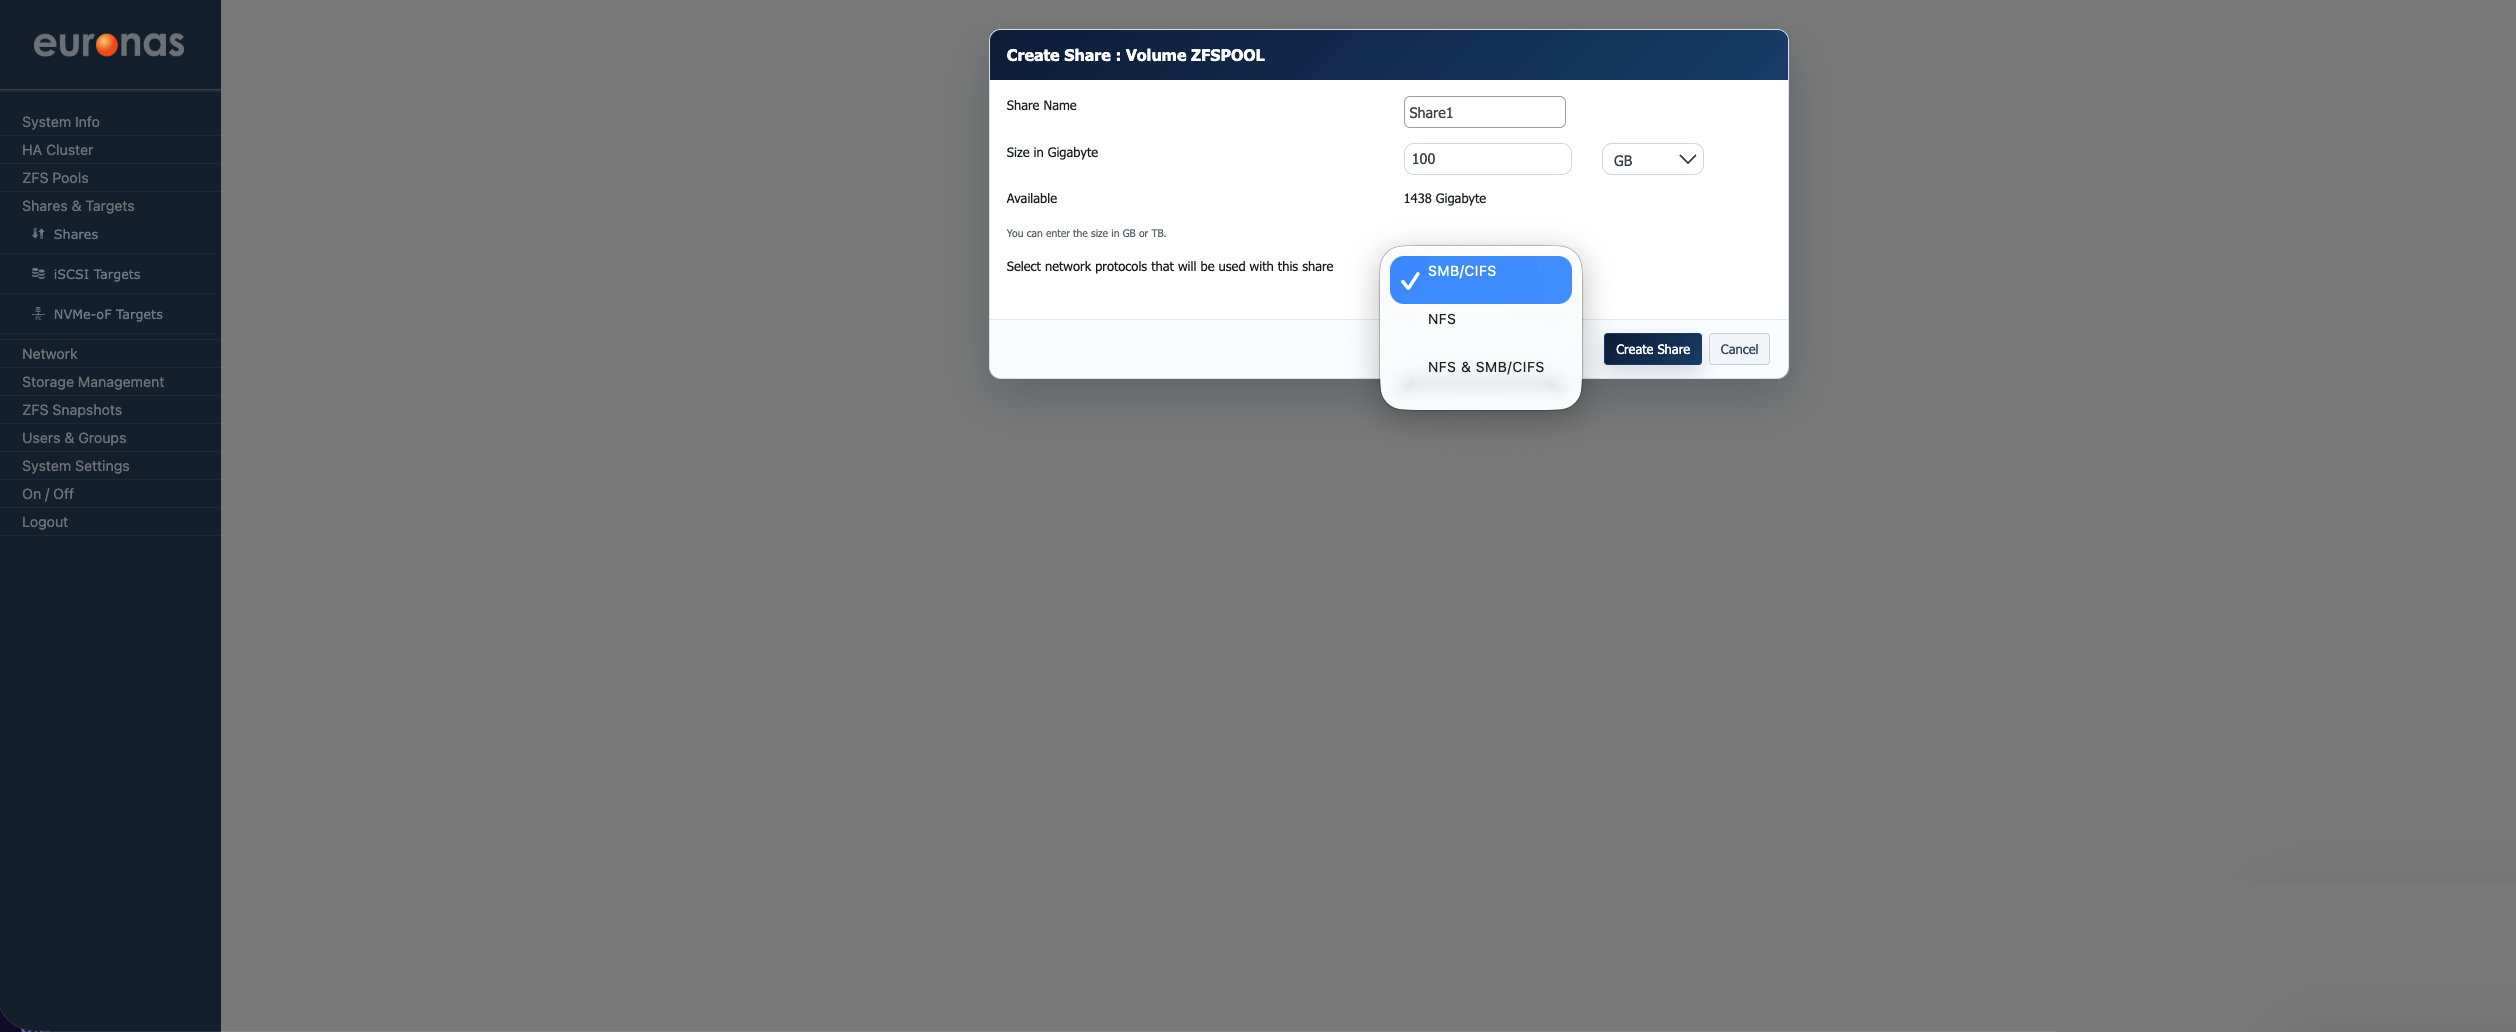
The final step is to define how the share will be presented to the network. In this example the share has been configured as a 100 GB share using the SMB/CIFS protocol, making it accessible to Windows systems and standard network file sharing clients.
Administrators can also choose NFS for Linux and UNIX environments, or enable both NFS & SMB/CIFS simultaneously where mixed operating system access is required. Once the required protocol has been selected, press Create Share to provision the new share on the selected ZFS pool.
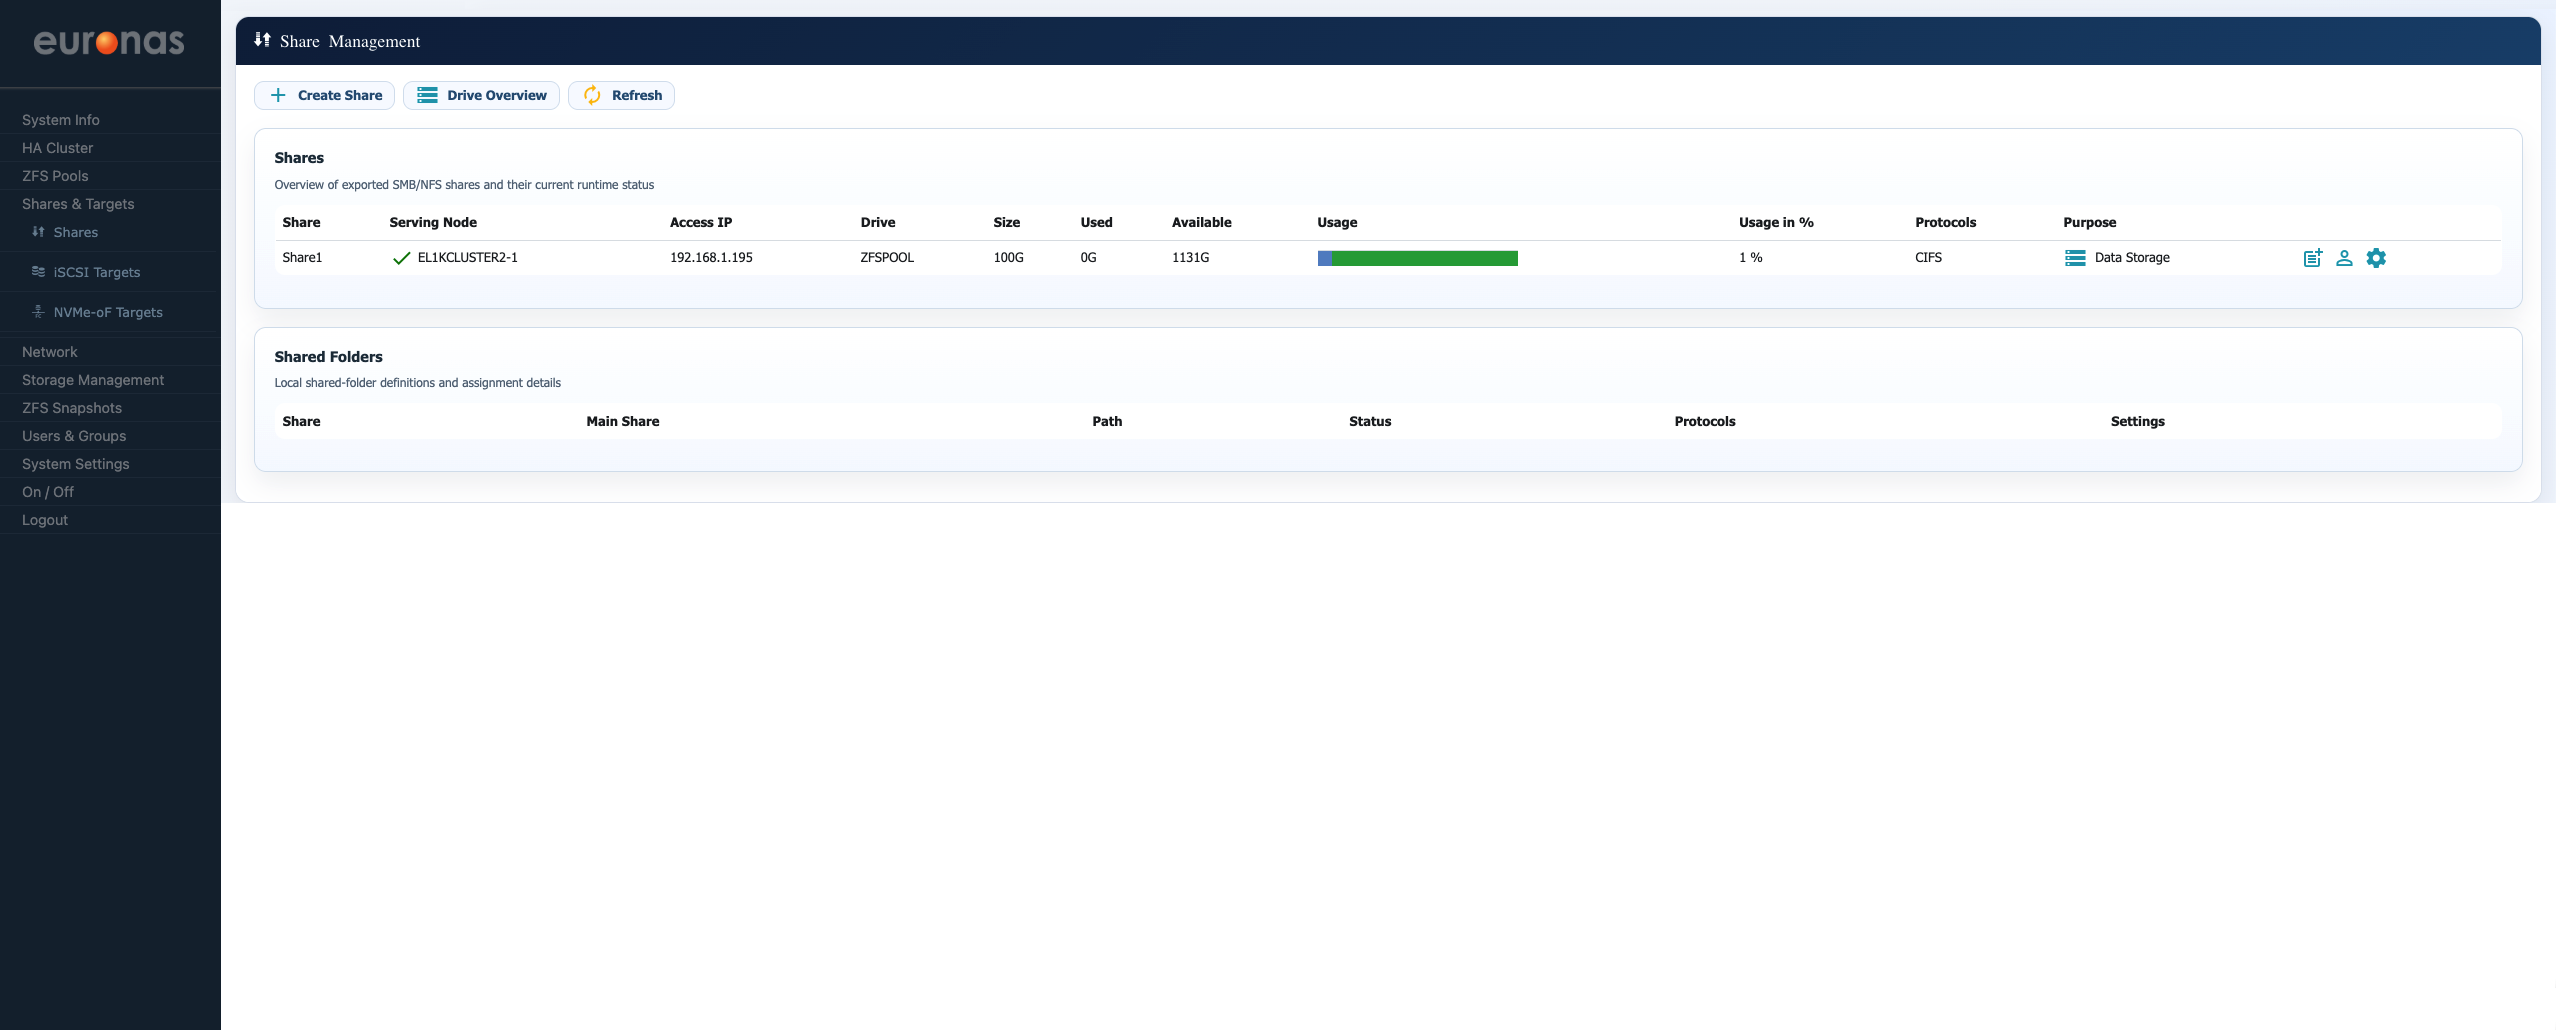
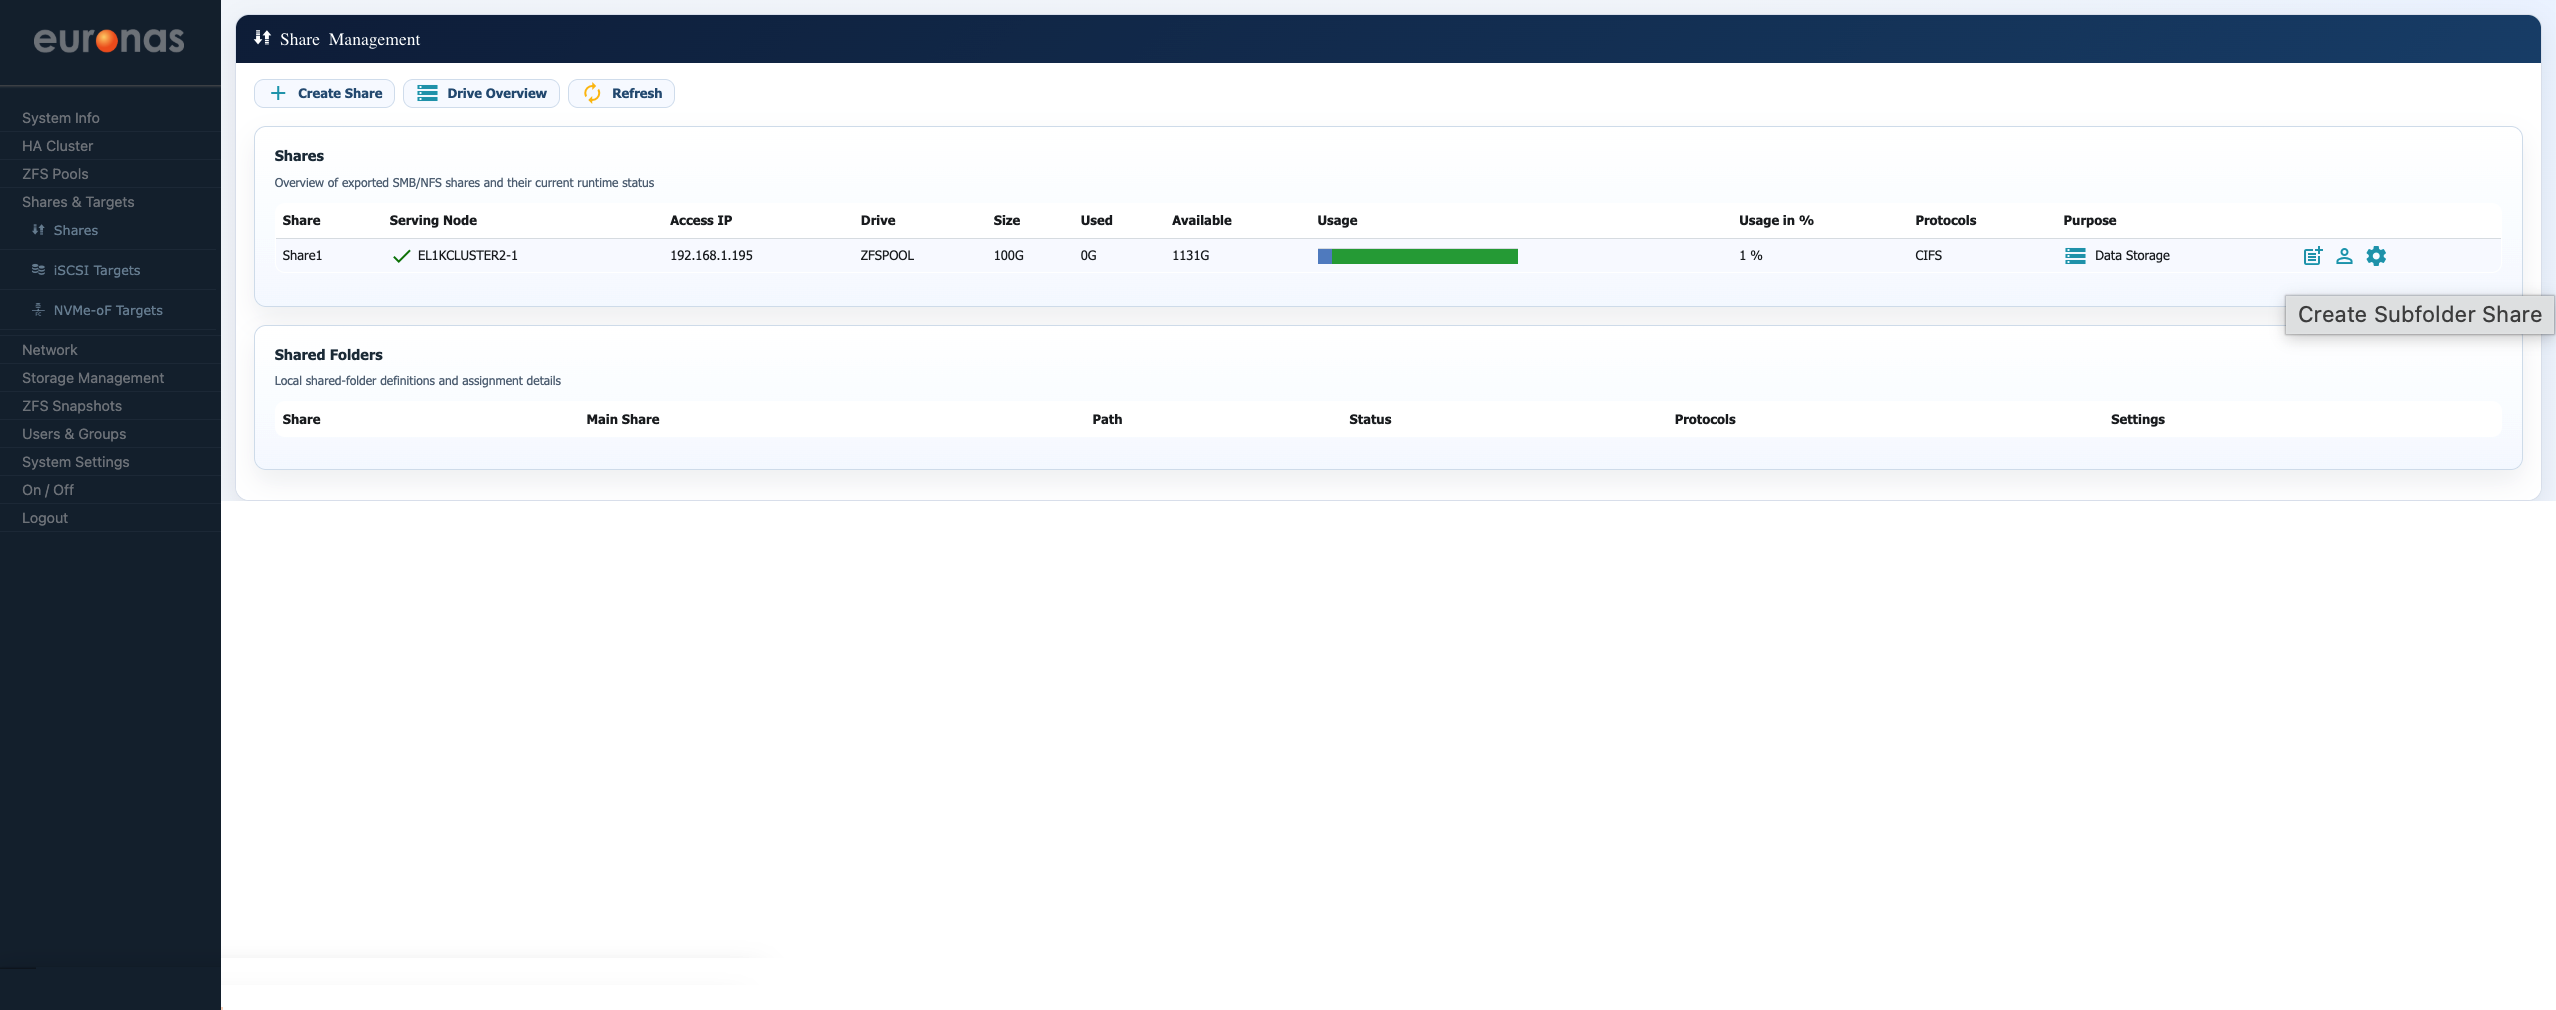
Additional subfolders can be created within the share by selecting the + Create Shared Folder button. Select this option to continue.
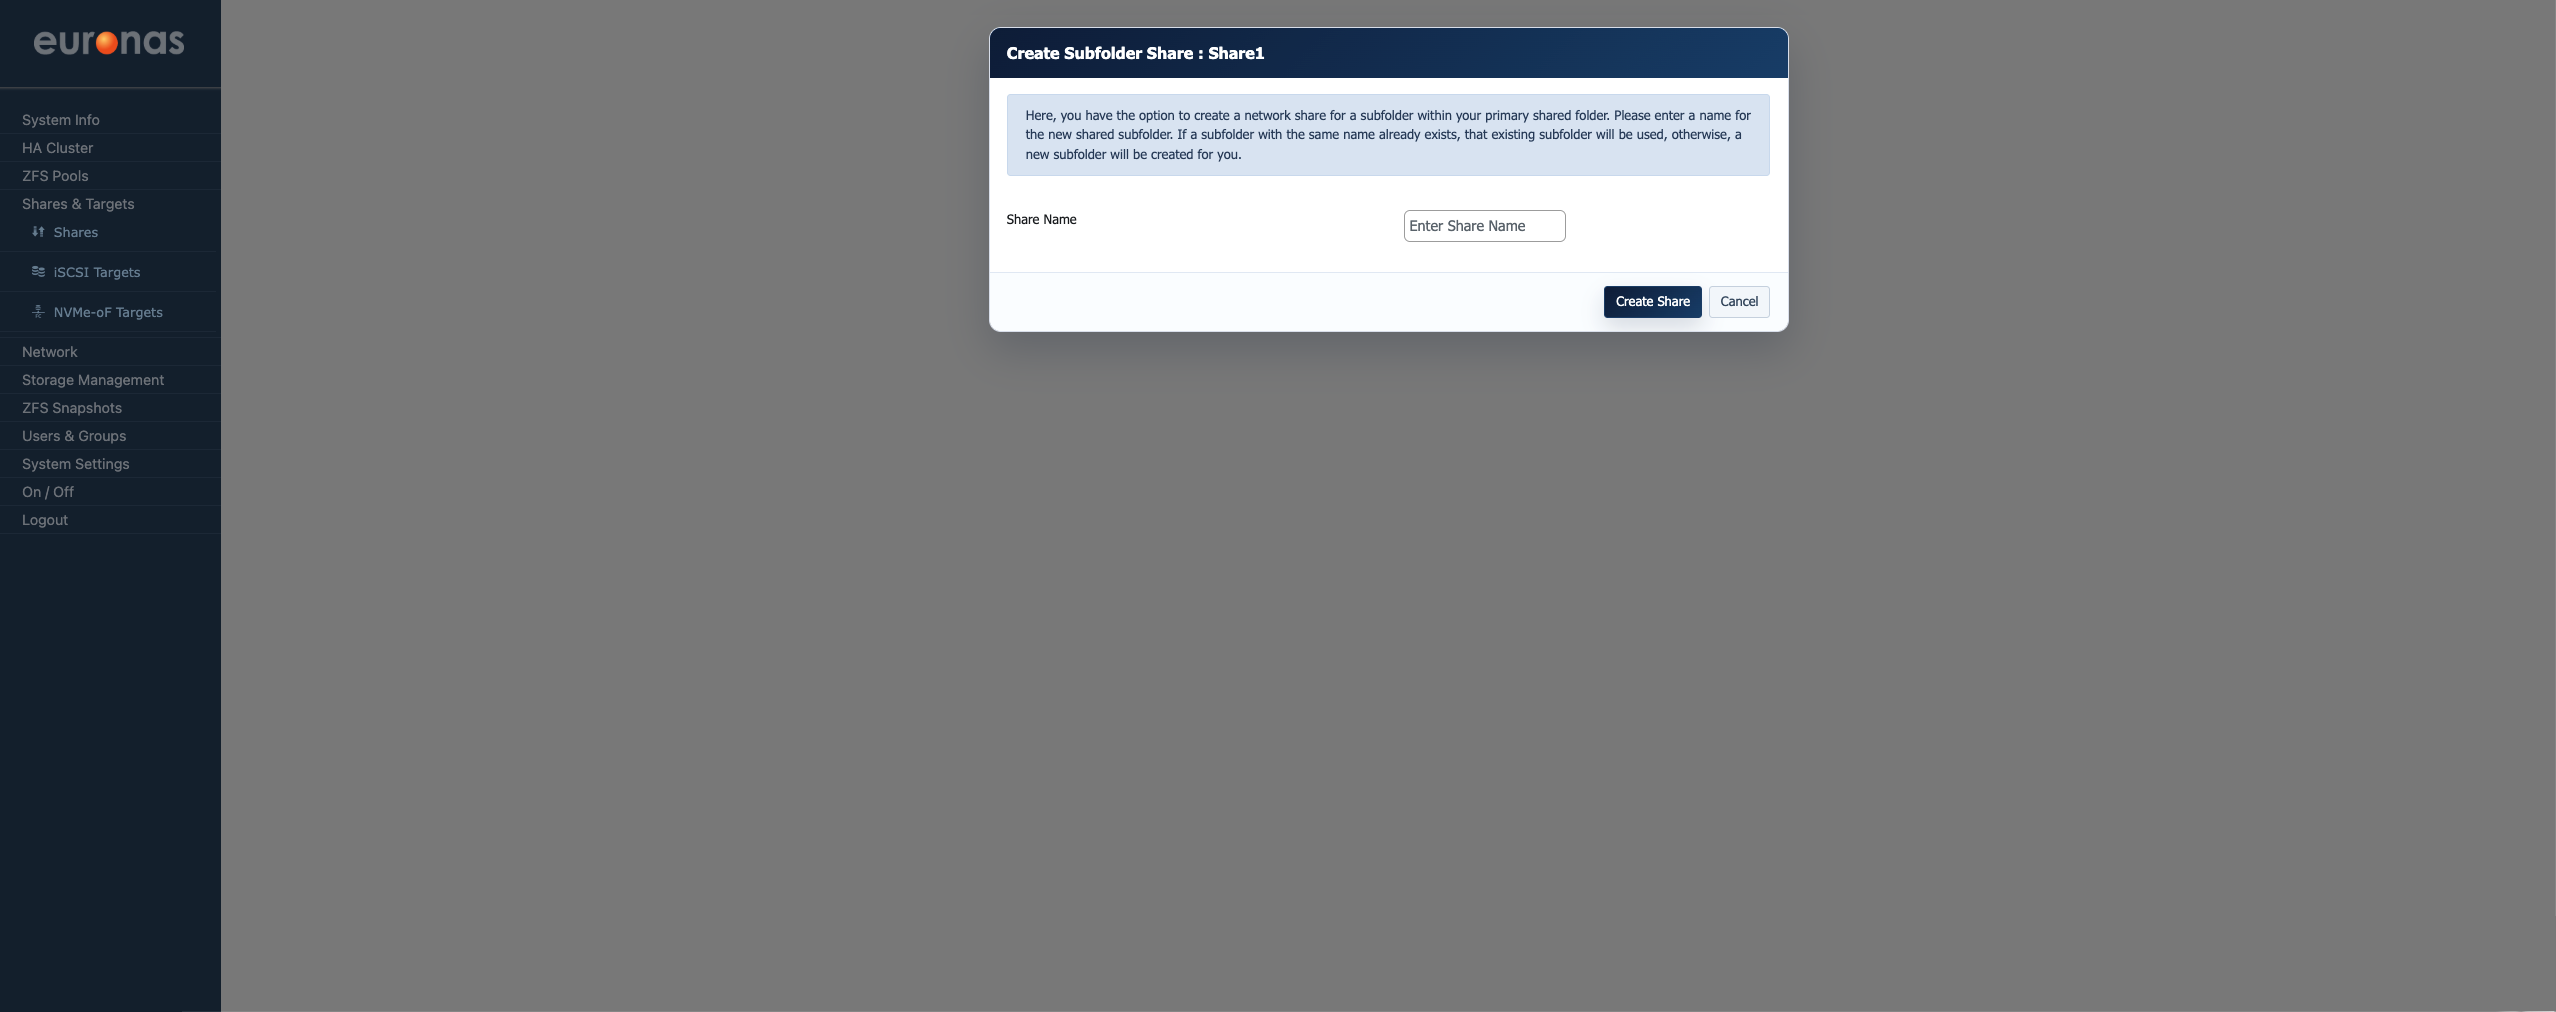
This will open the Create Subfolder Share wizard.
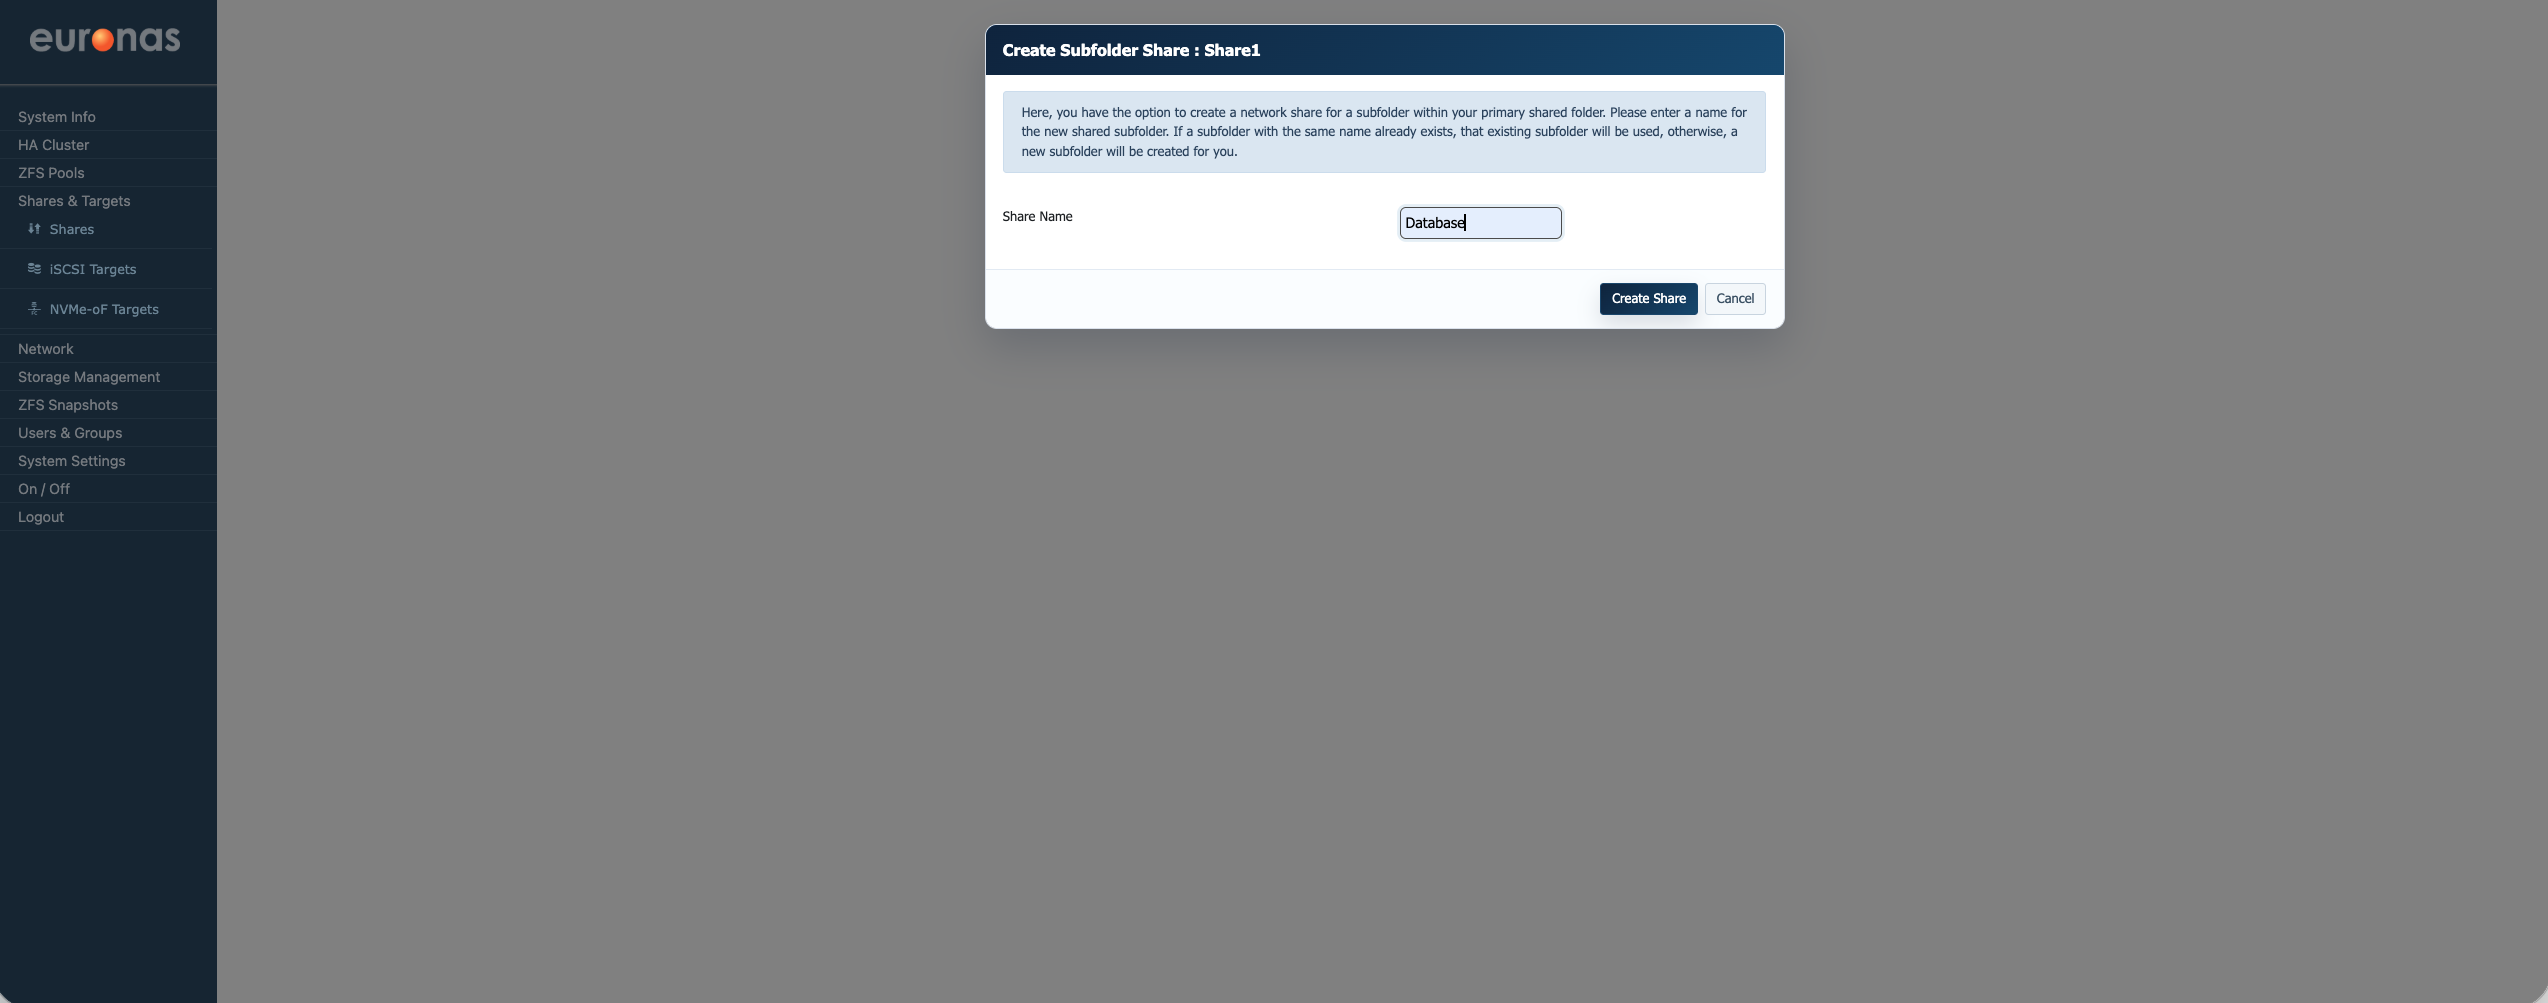
This screen is used to create a subfolder within an existing share. In this example, the subfolder Database is created under the Share1 share. The selected volume represents the parent share, and the Share Name defines the name of the new subfolder that will be presented to users.
This allows a larger share to be broken down into smaller, more manageable areas without creating additional top-level storage. It also provides a straightforward way to organise data and apply more granular access control where required.
Enter the required share name and select Create Share to continue.
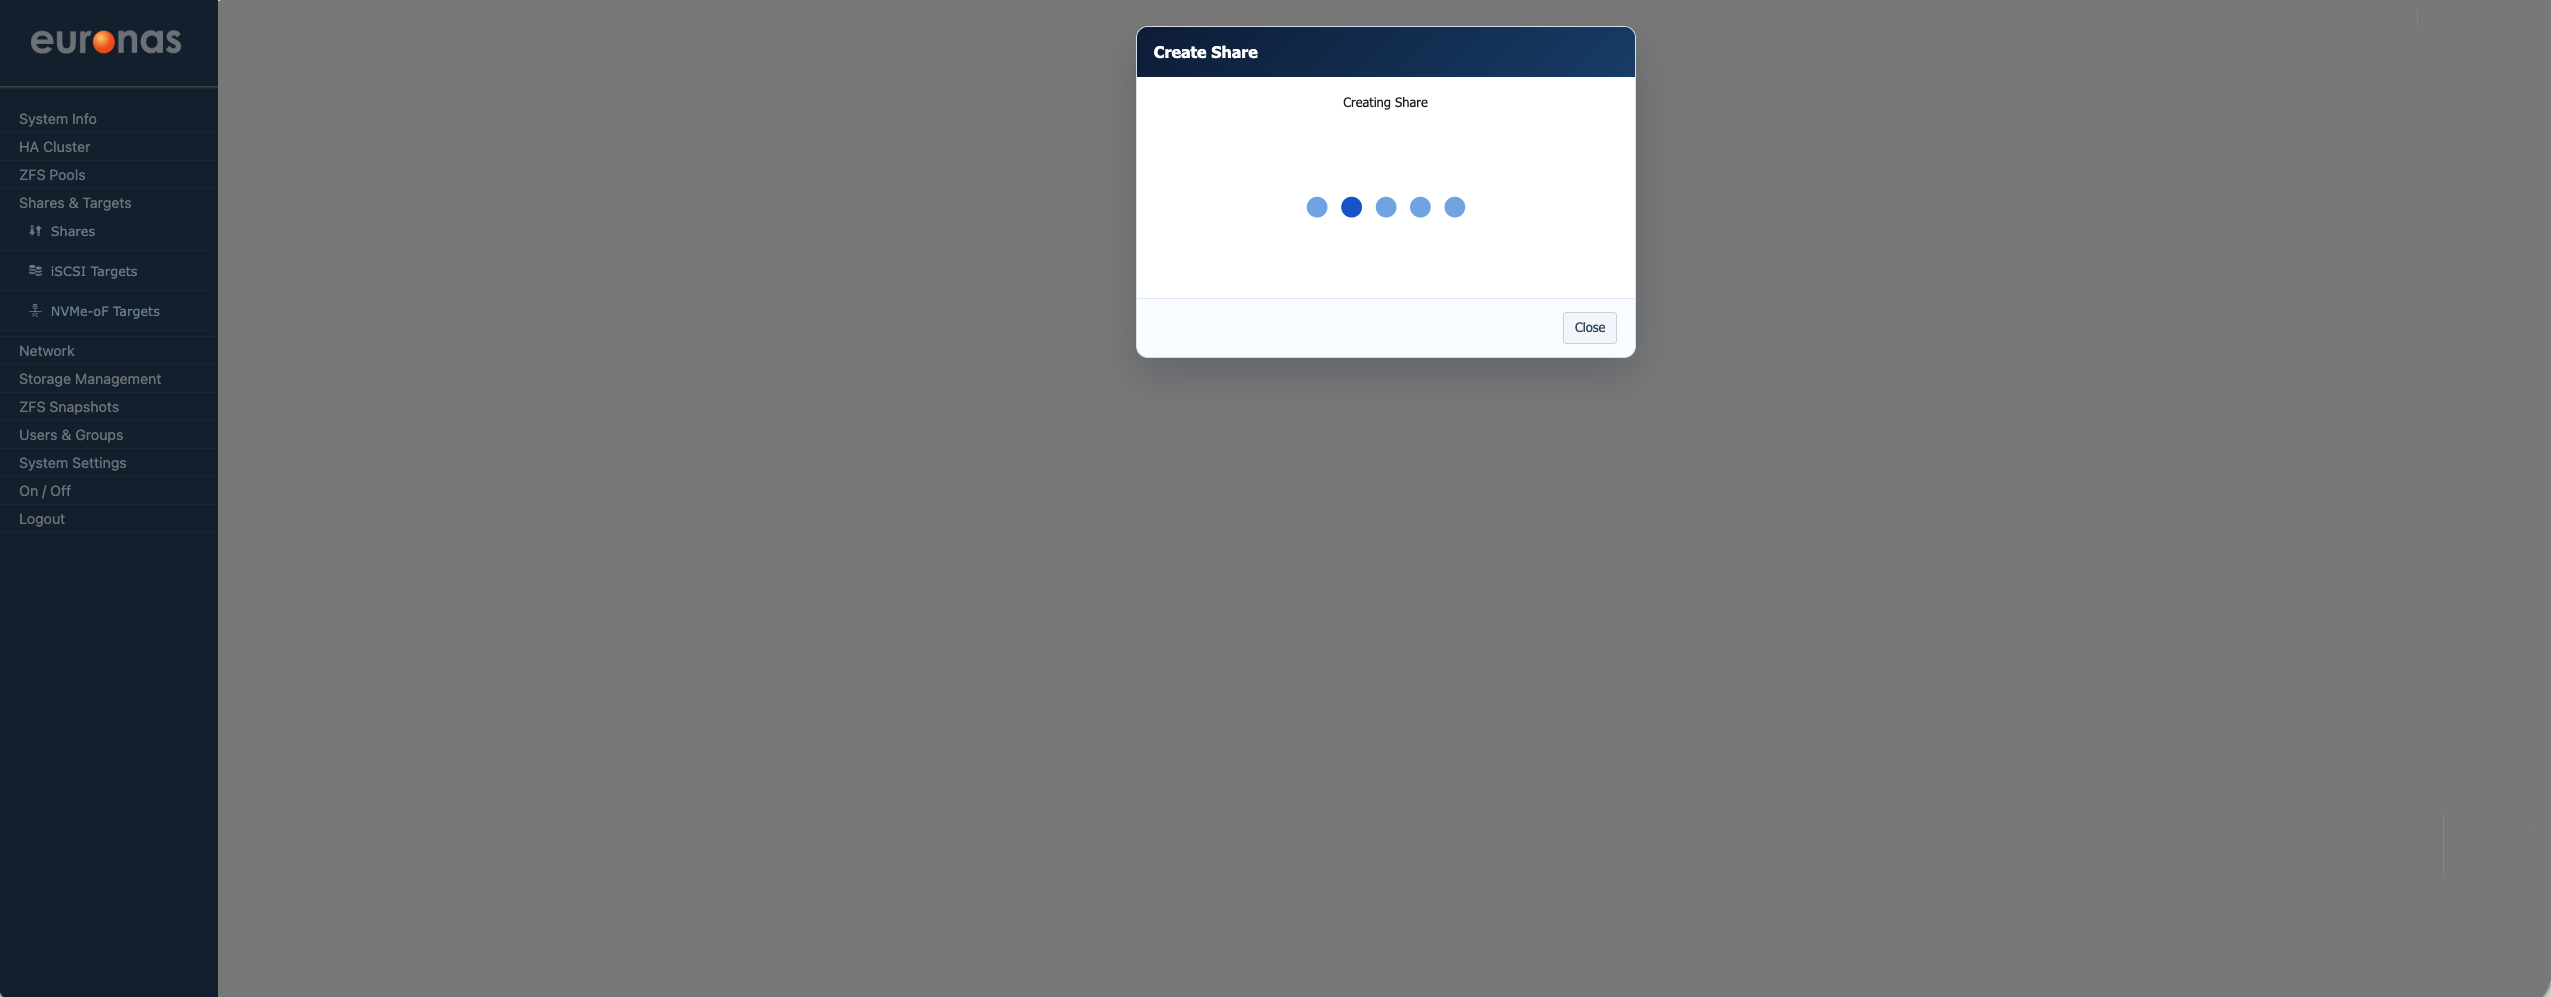
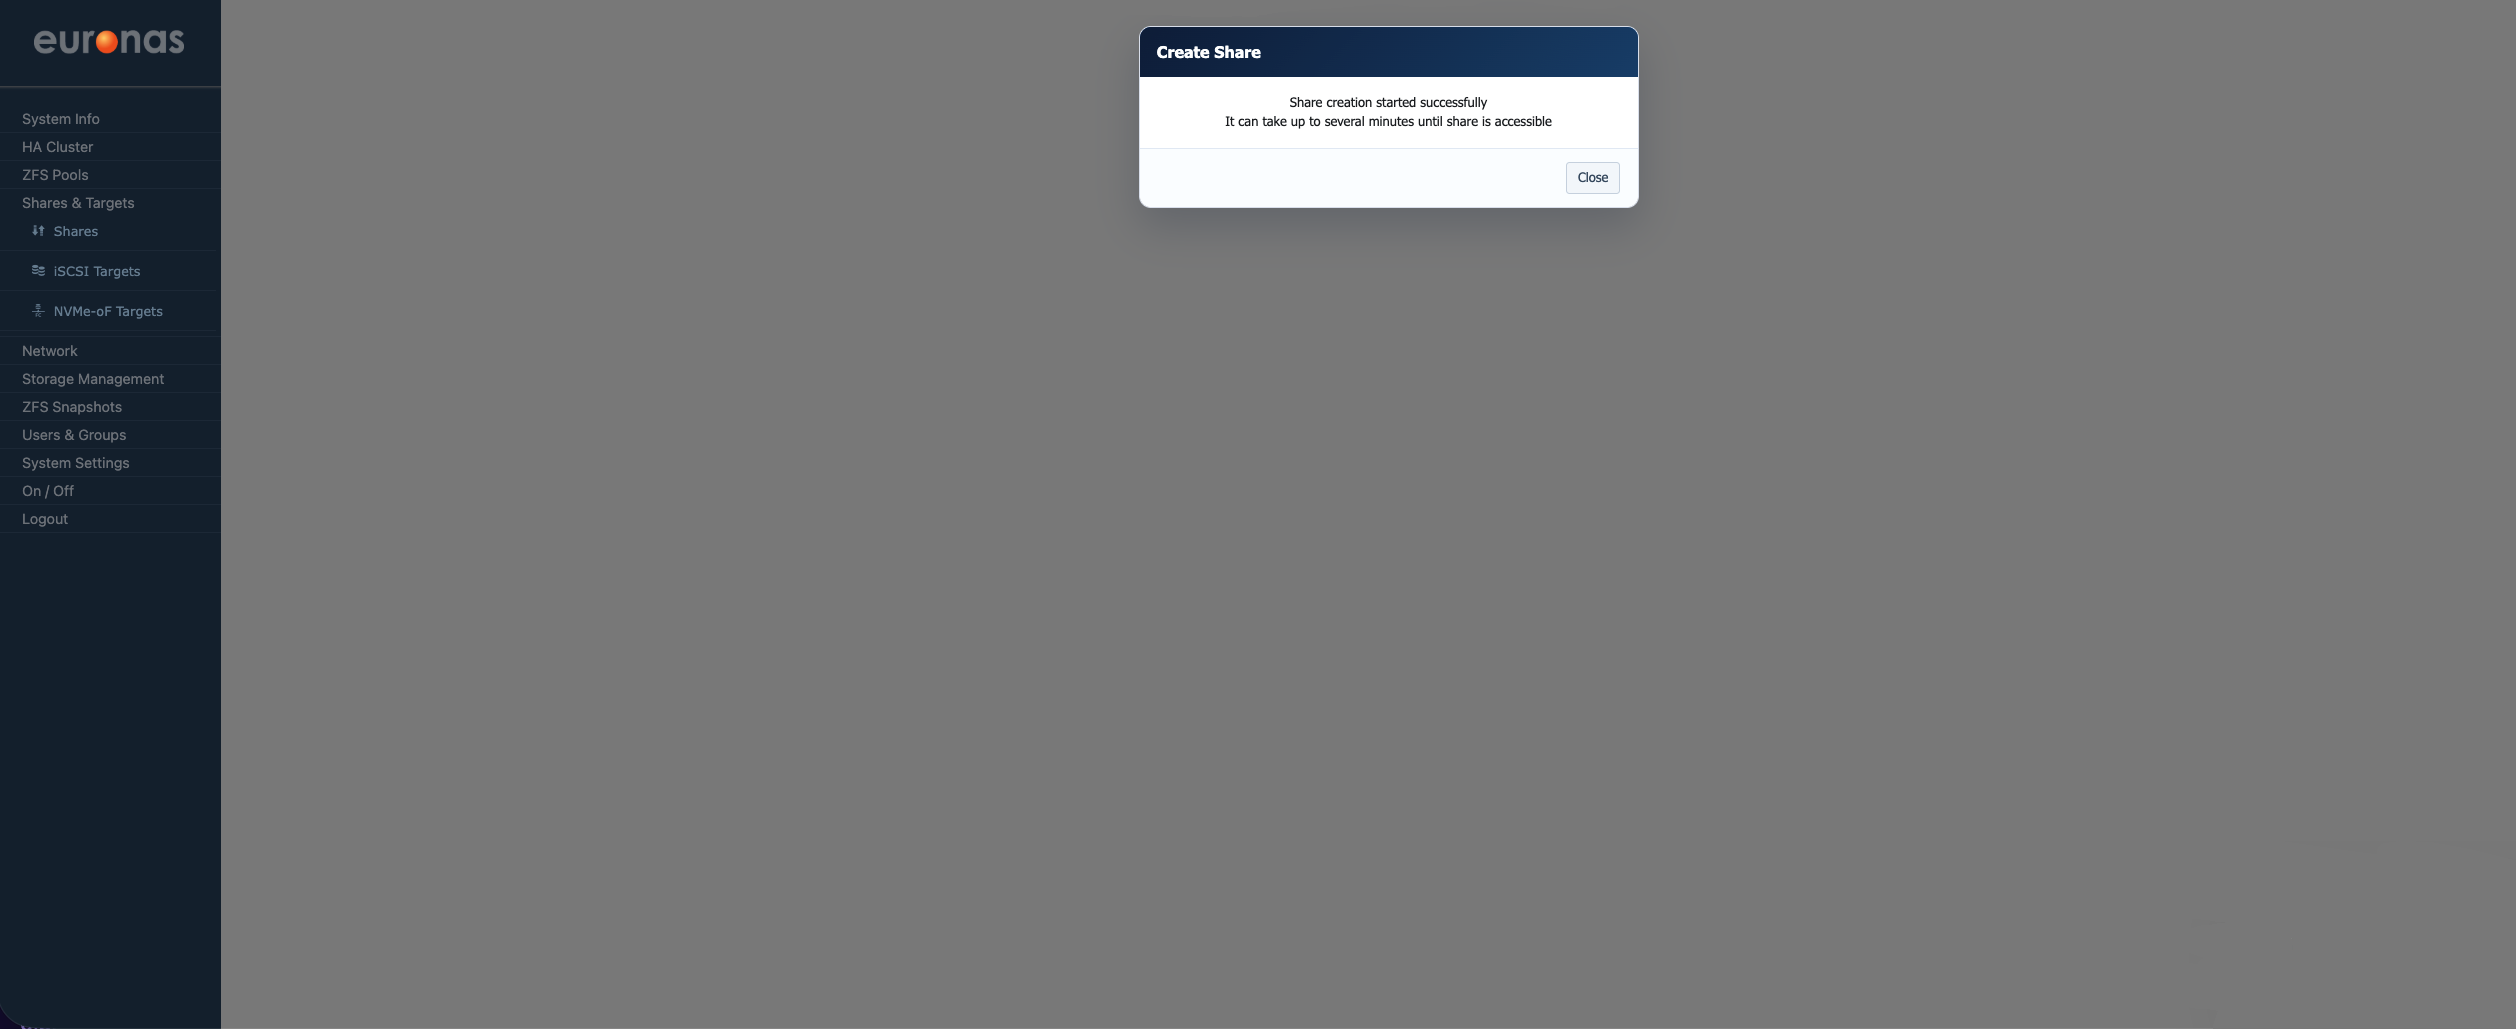
During this stage euroNAS is actively creating the share in the background. The system is allocating the filesystem, applying the selected protocol configuration, and registering the share with the required storage and network services. The animated progress indicator simply shows that the operation is still running. Depending on pool size, protocol selection, and overall system activity, this process may take several moments to complete before the share becomes available for client access.
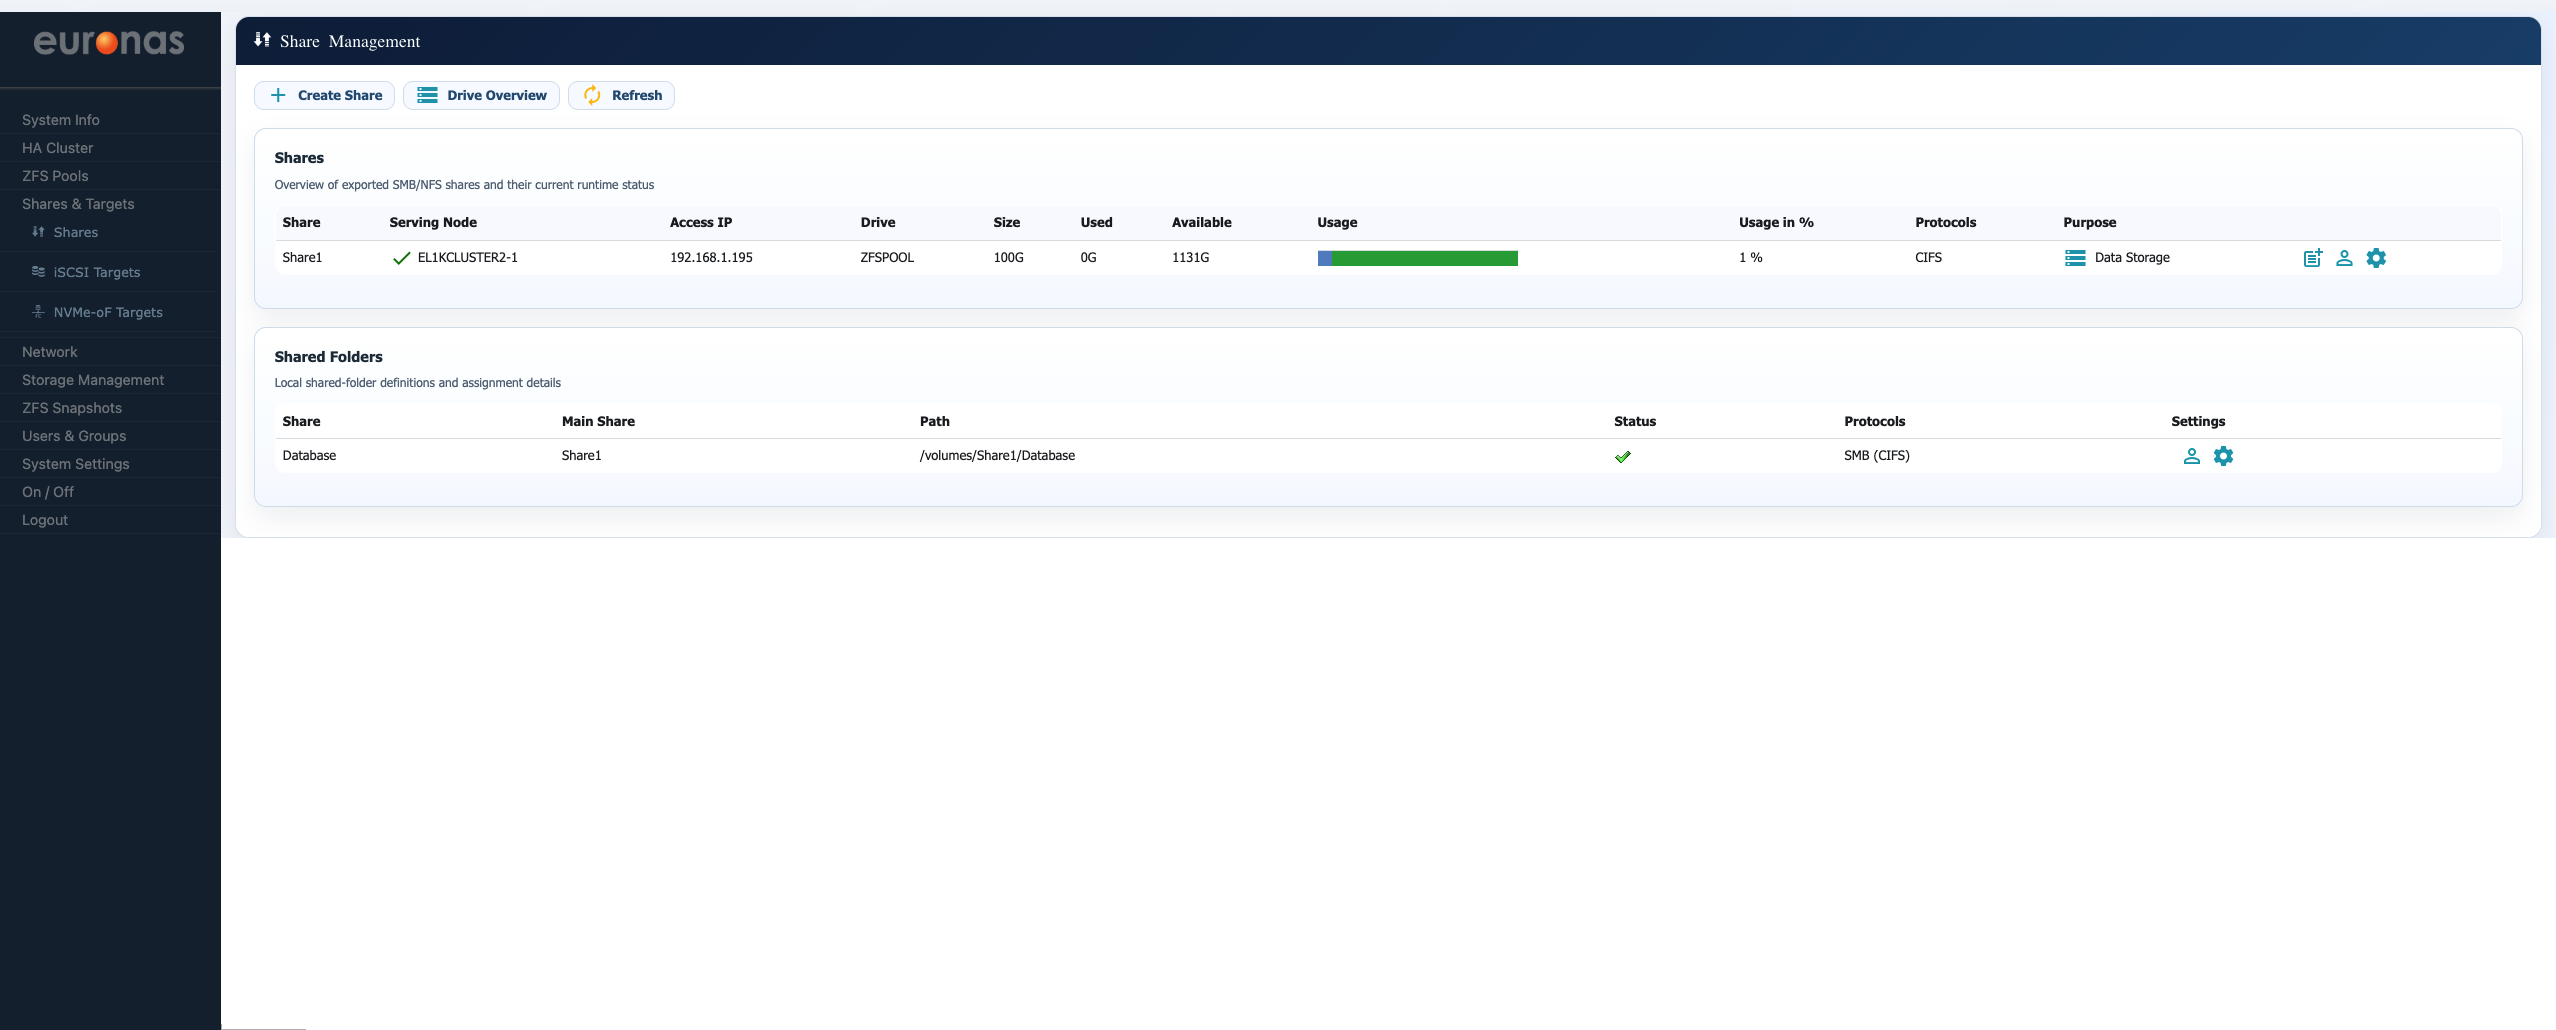
As shown, the main share Share1 is visible along with the subfolder share Database, confirming that both have been configured correctly.
From this screen, you can review share status, usage, and access settings, as well as make further changes if required.